
Pagey Elliott Puzzle Exchange 2026 Entry
Background Dropout Silhouette / Sculpt-ette guide
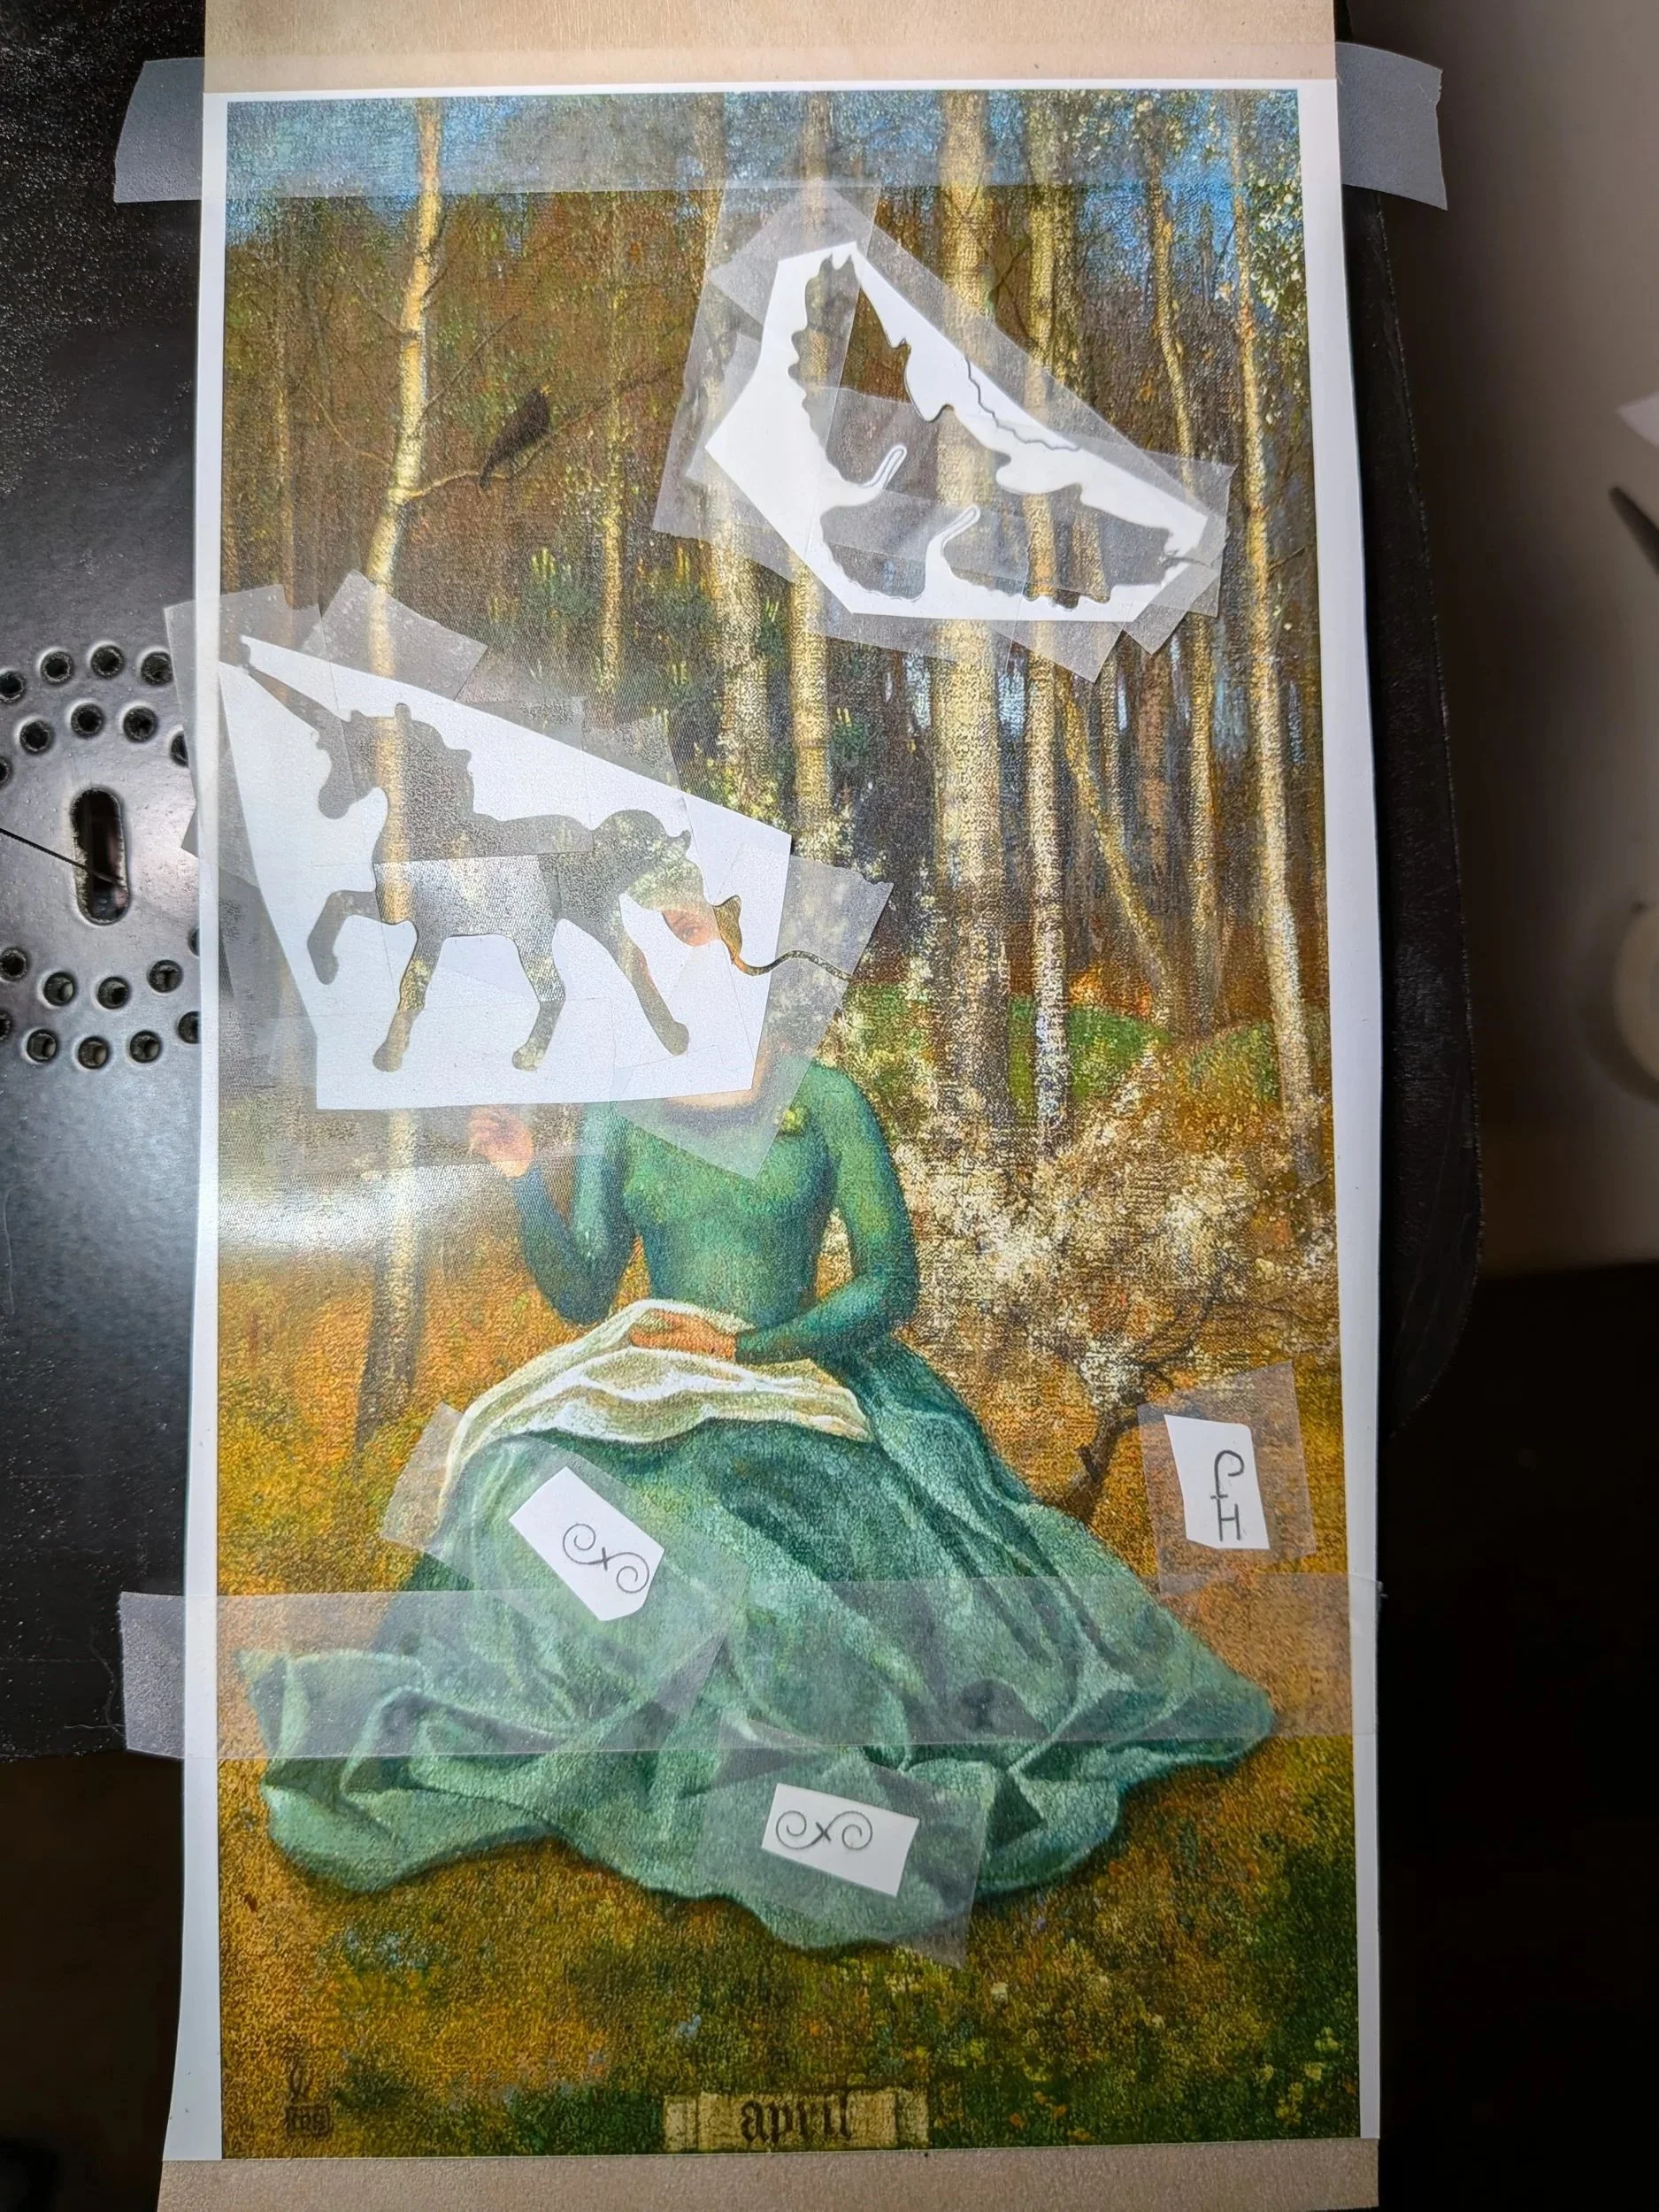
Prototype
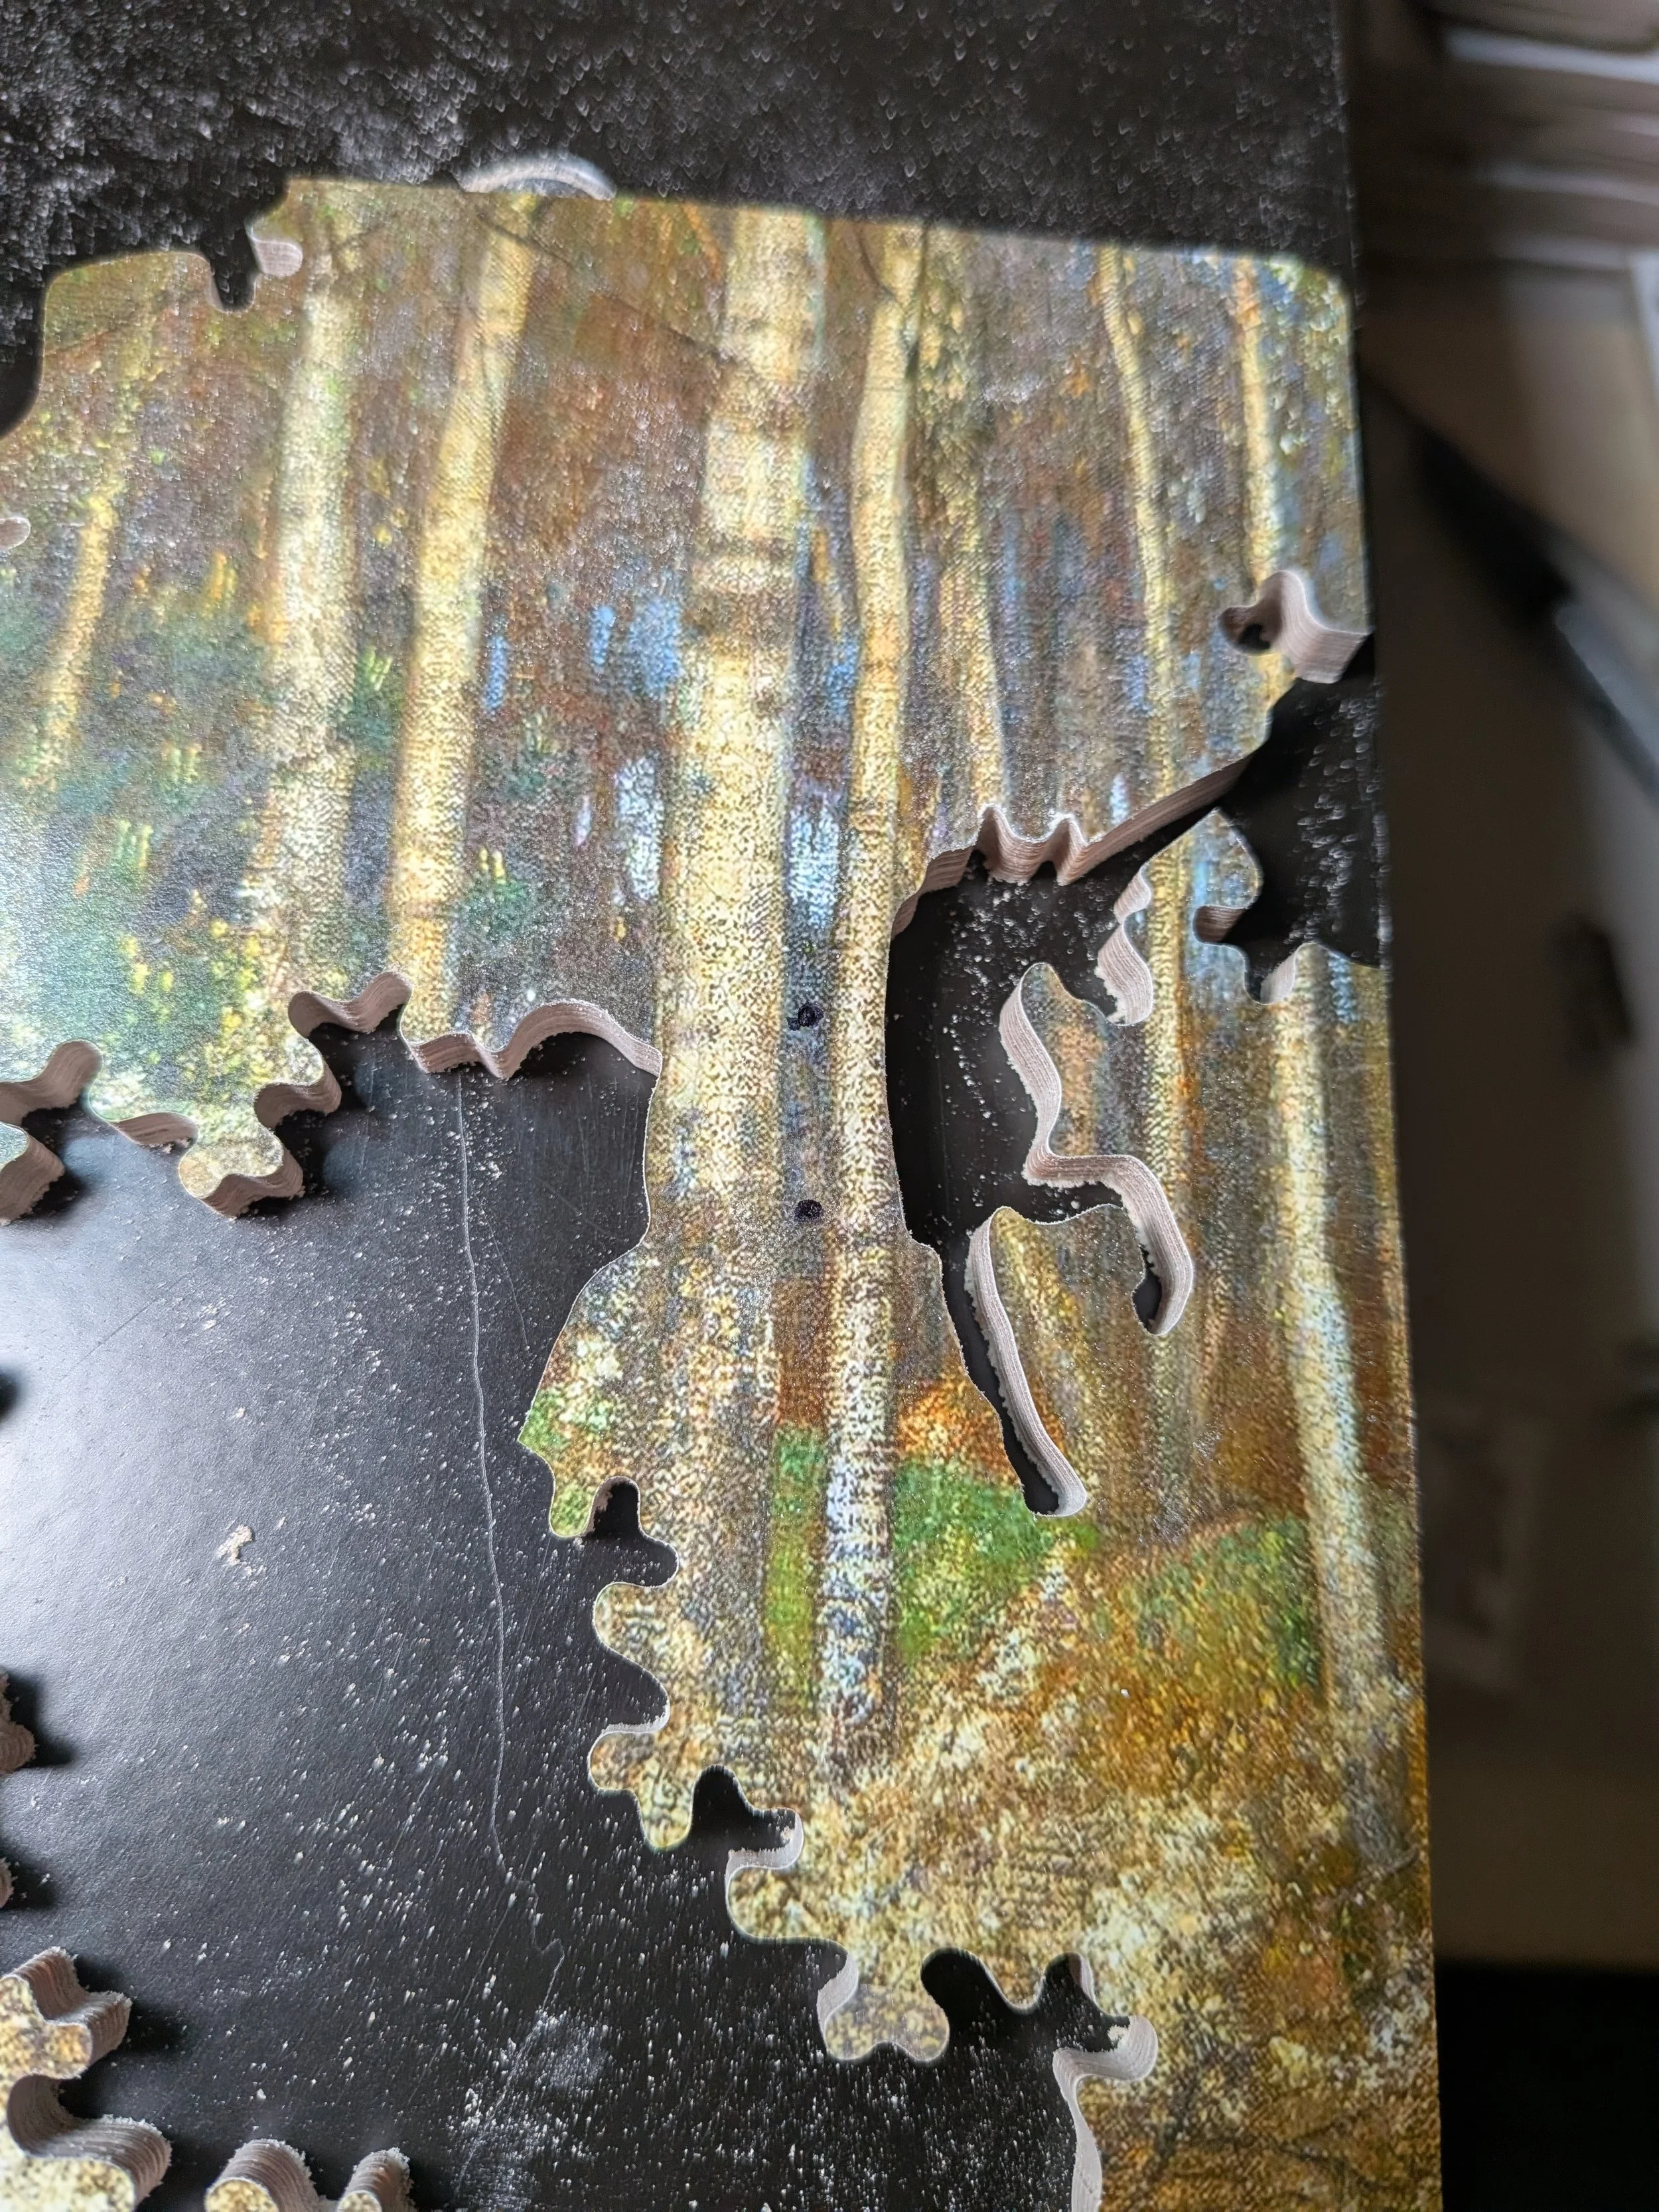
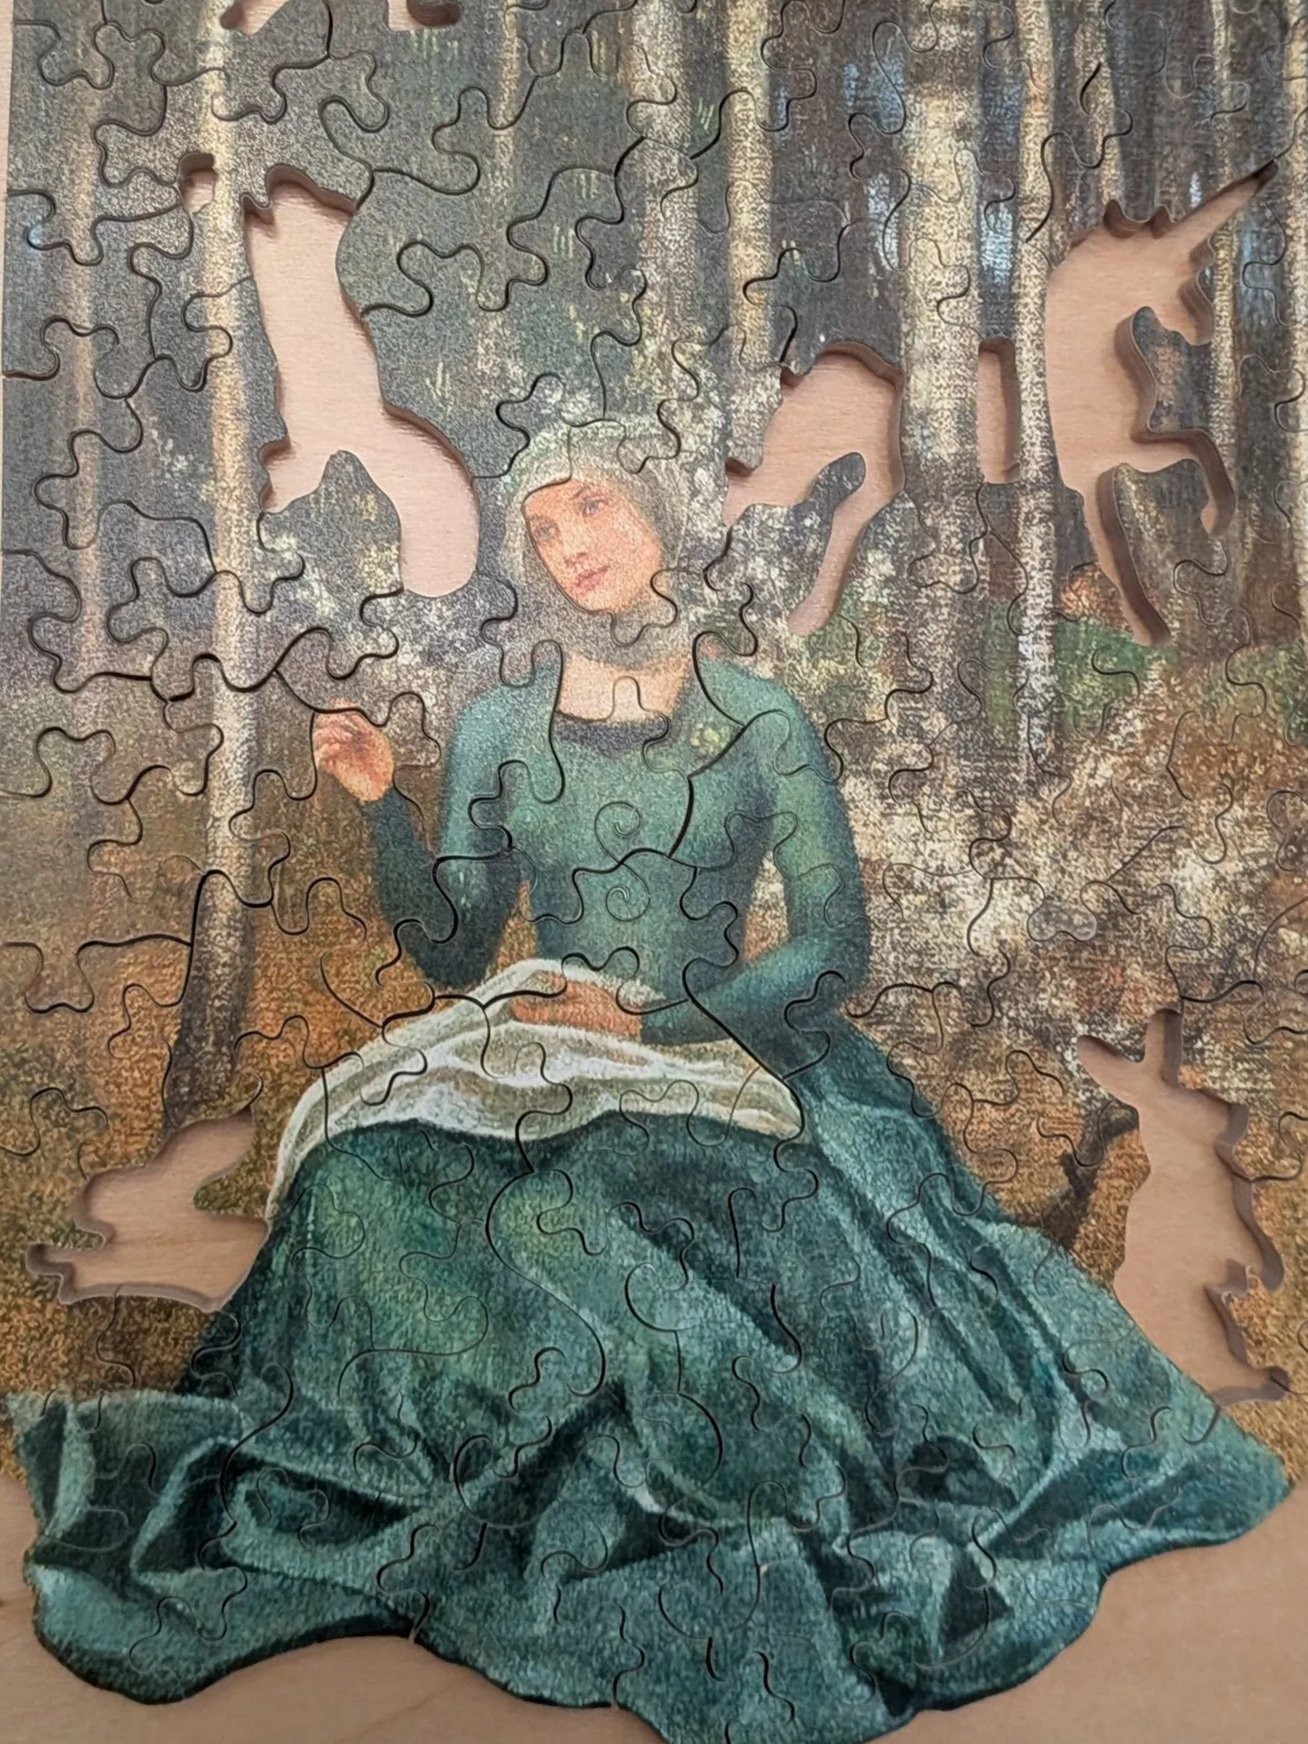
Unicorn behind woman/tree, owl between/behind trees. Showcasing the 'correct' portion of the dropout shapes (unicorn's horn/legs, owl's wings is key to identifying the silhouette once the pieces are assembled. S symbols with hashes are Sculpt-ettes. I made a signature 'PH' sculptette to sign my pieces, but found it too audacious for my taste to sign the front of a puzzle, so to speak. Bottom edge set with tape.
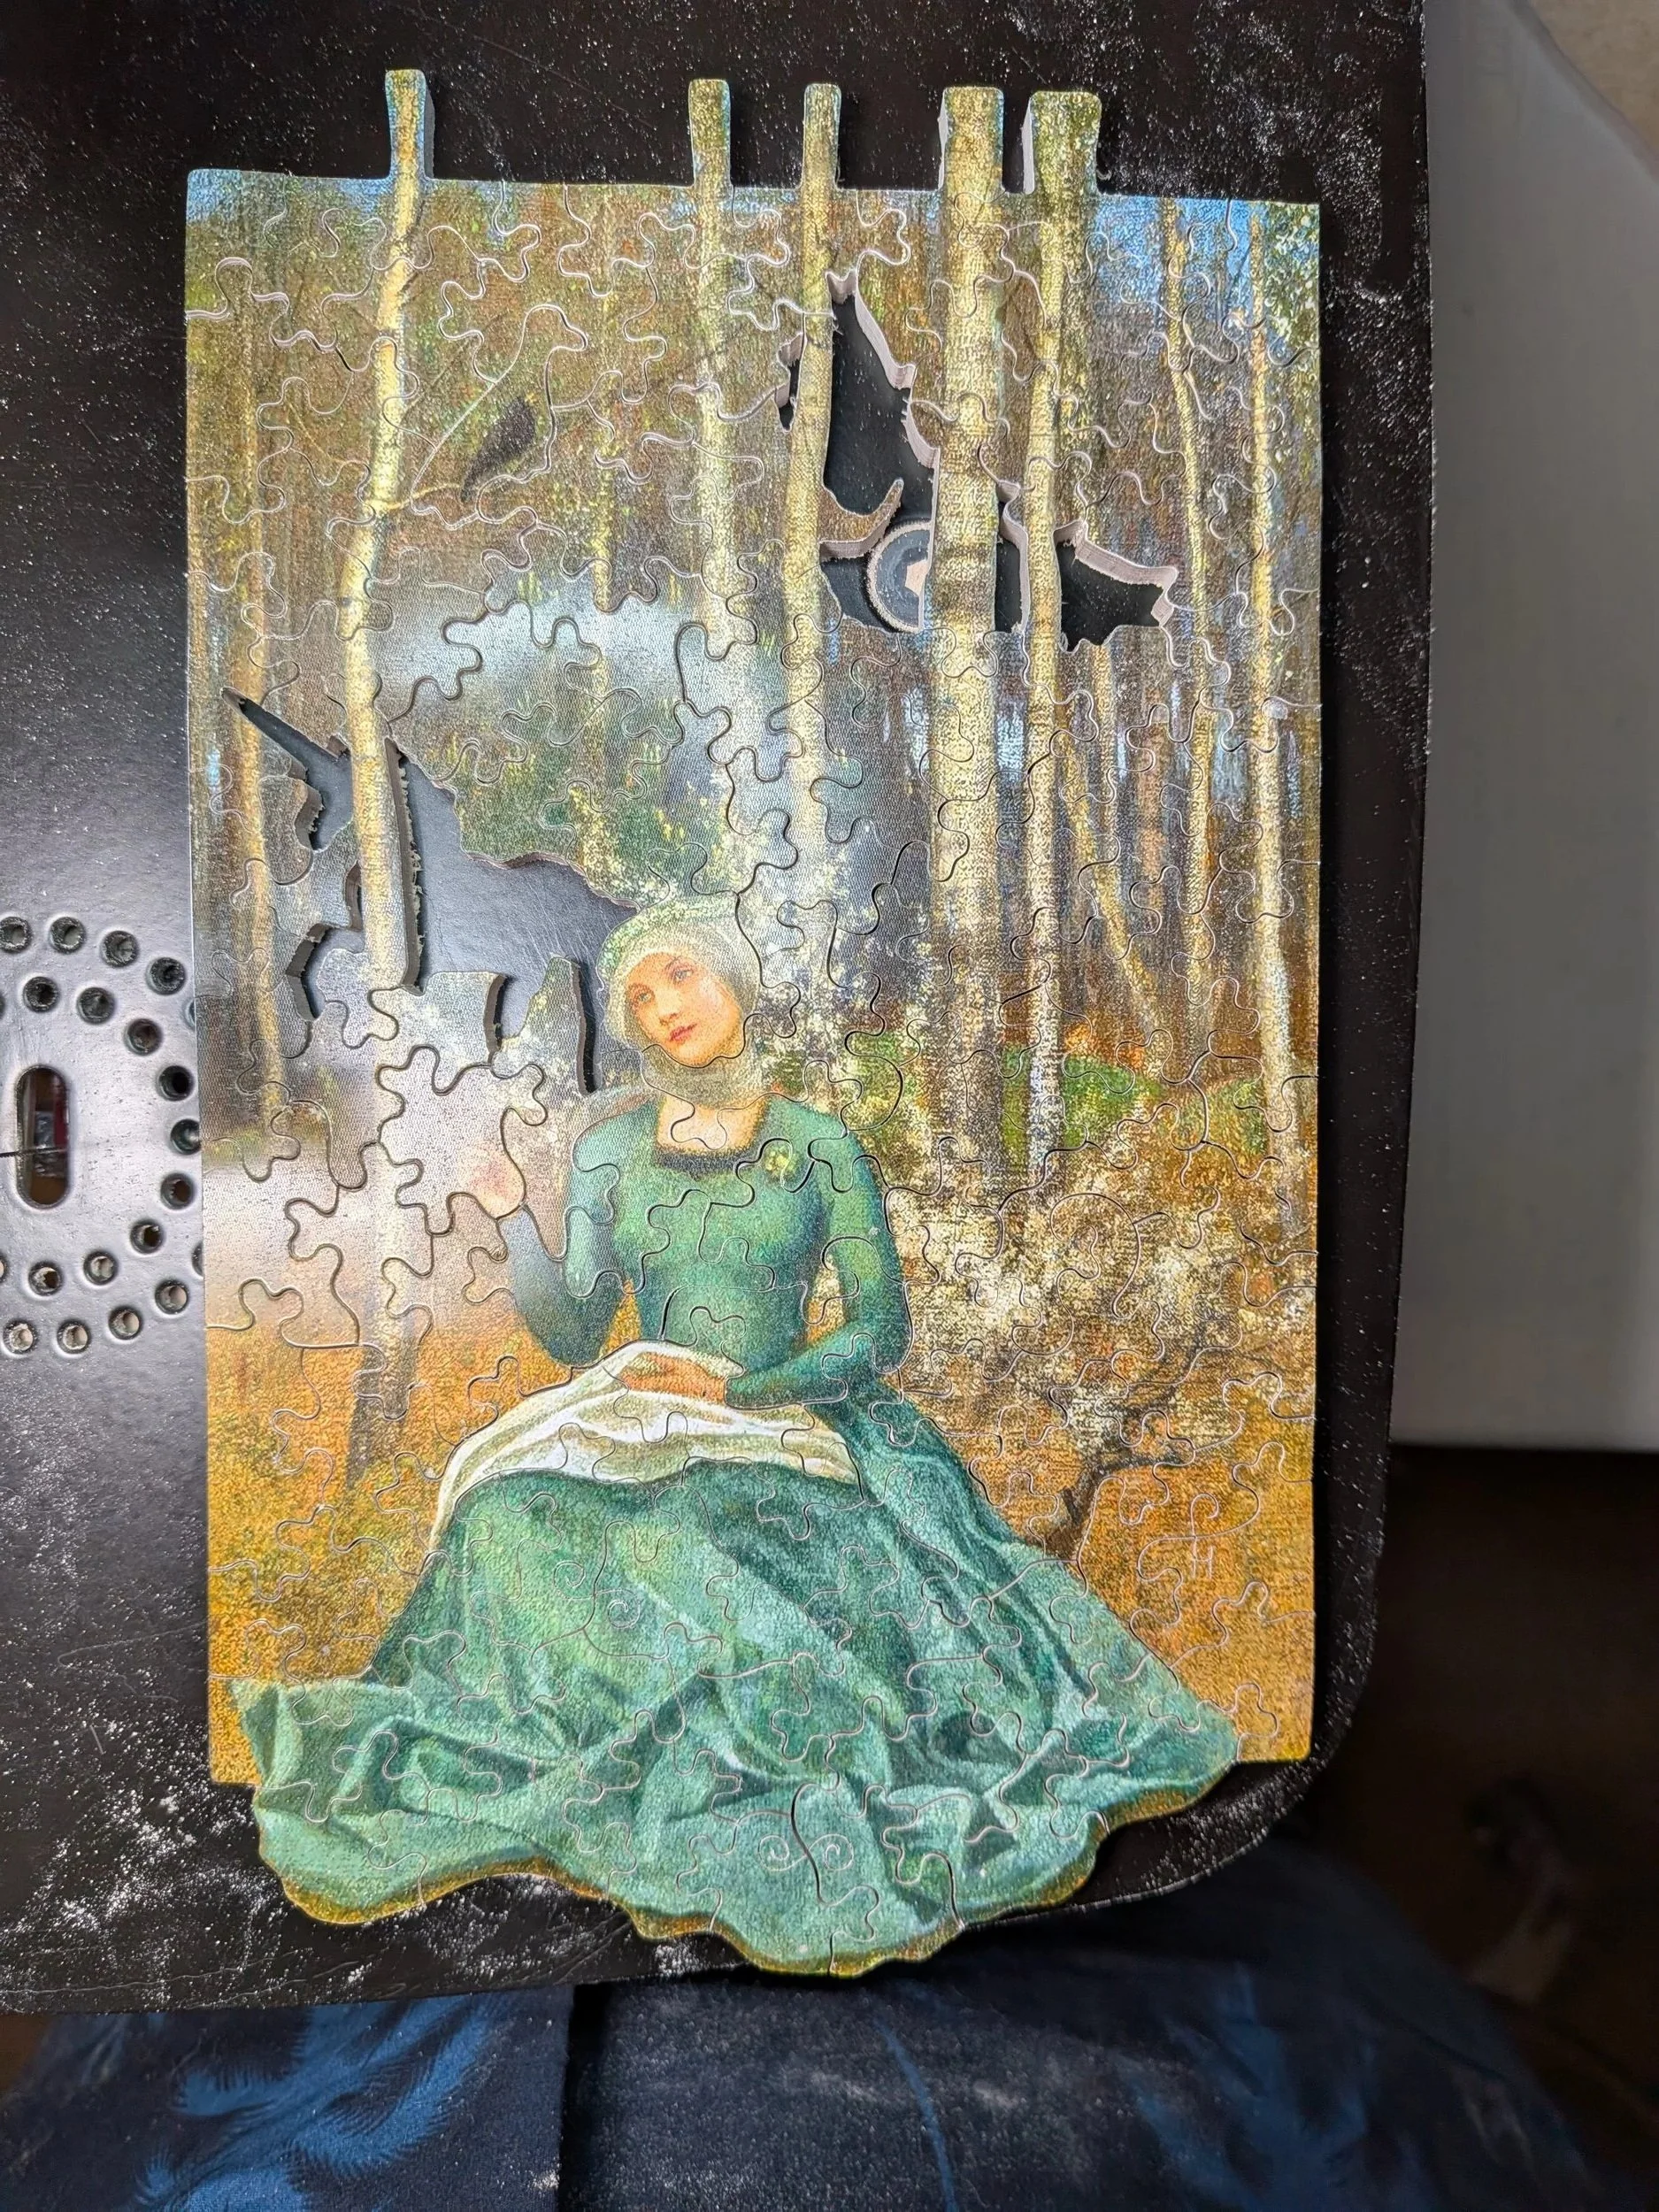
Prototype Result
I don't like that the unicorn's tail is hidden, perspective feels a bit off. Owl is difficult to span multiple trees without making it look like it is flying face-first into one. I know this effect can work better. Improvised crow whimsy, can be better. Bottom sculpt-ettes un-noticable. Bottom edge needs to come in closer to dress.
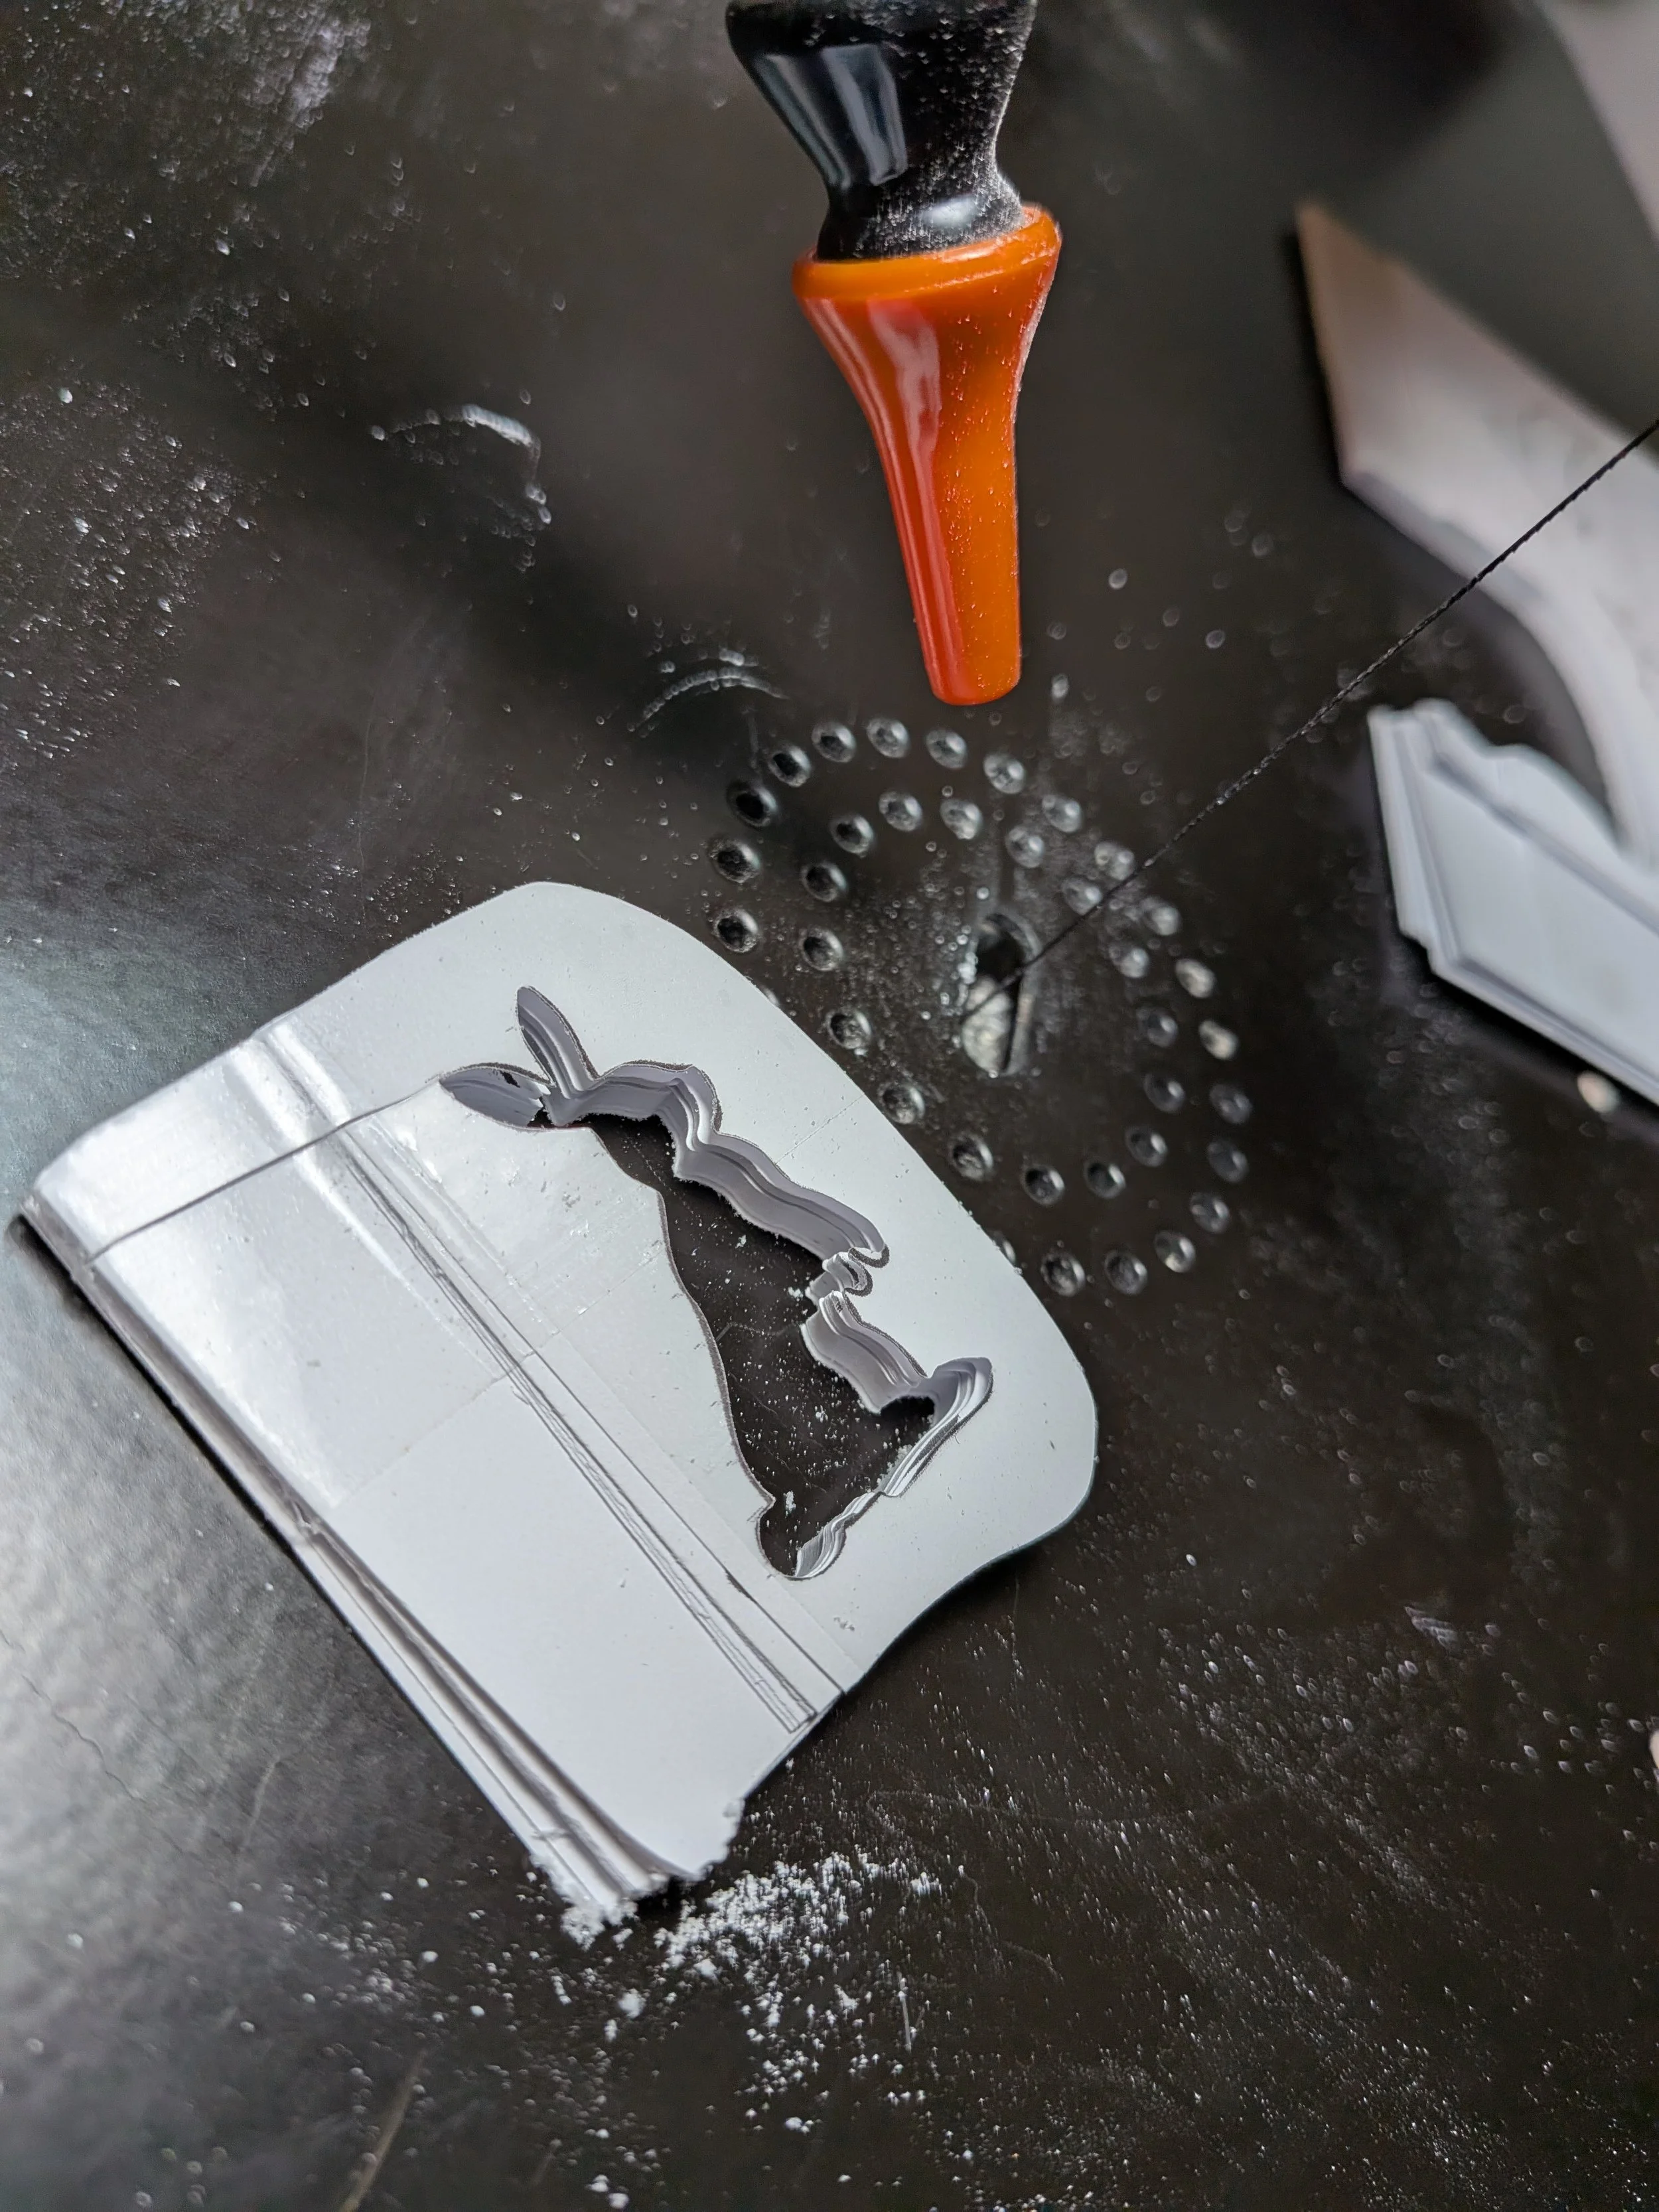
Negative Silhouettes
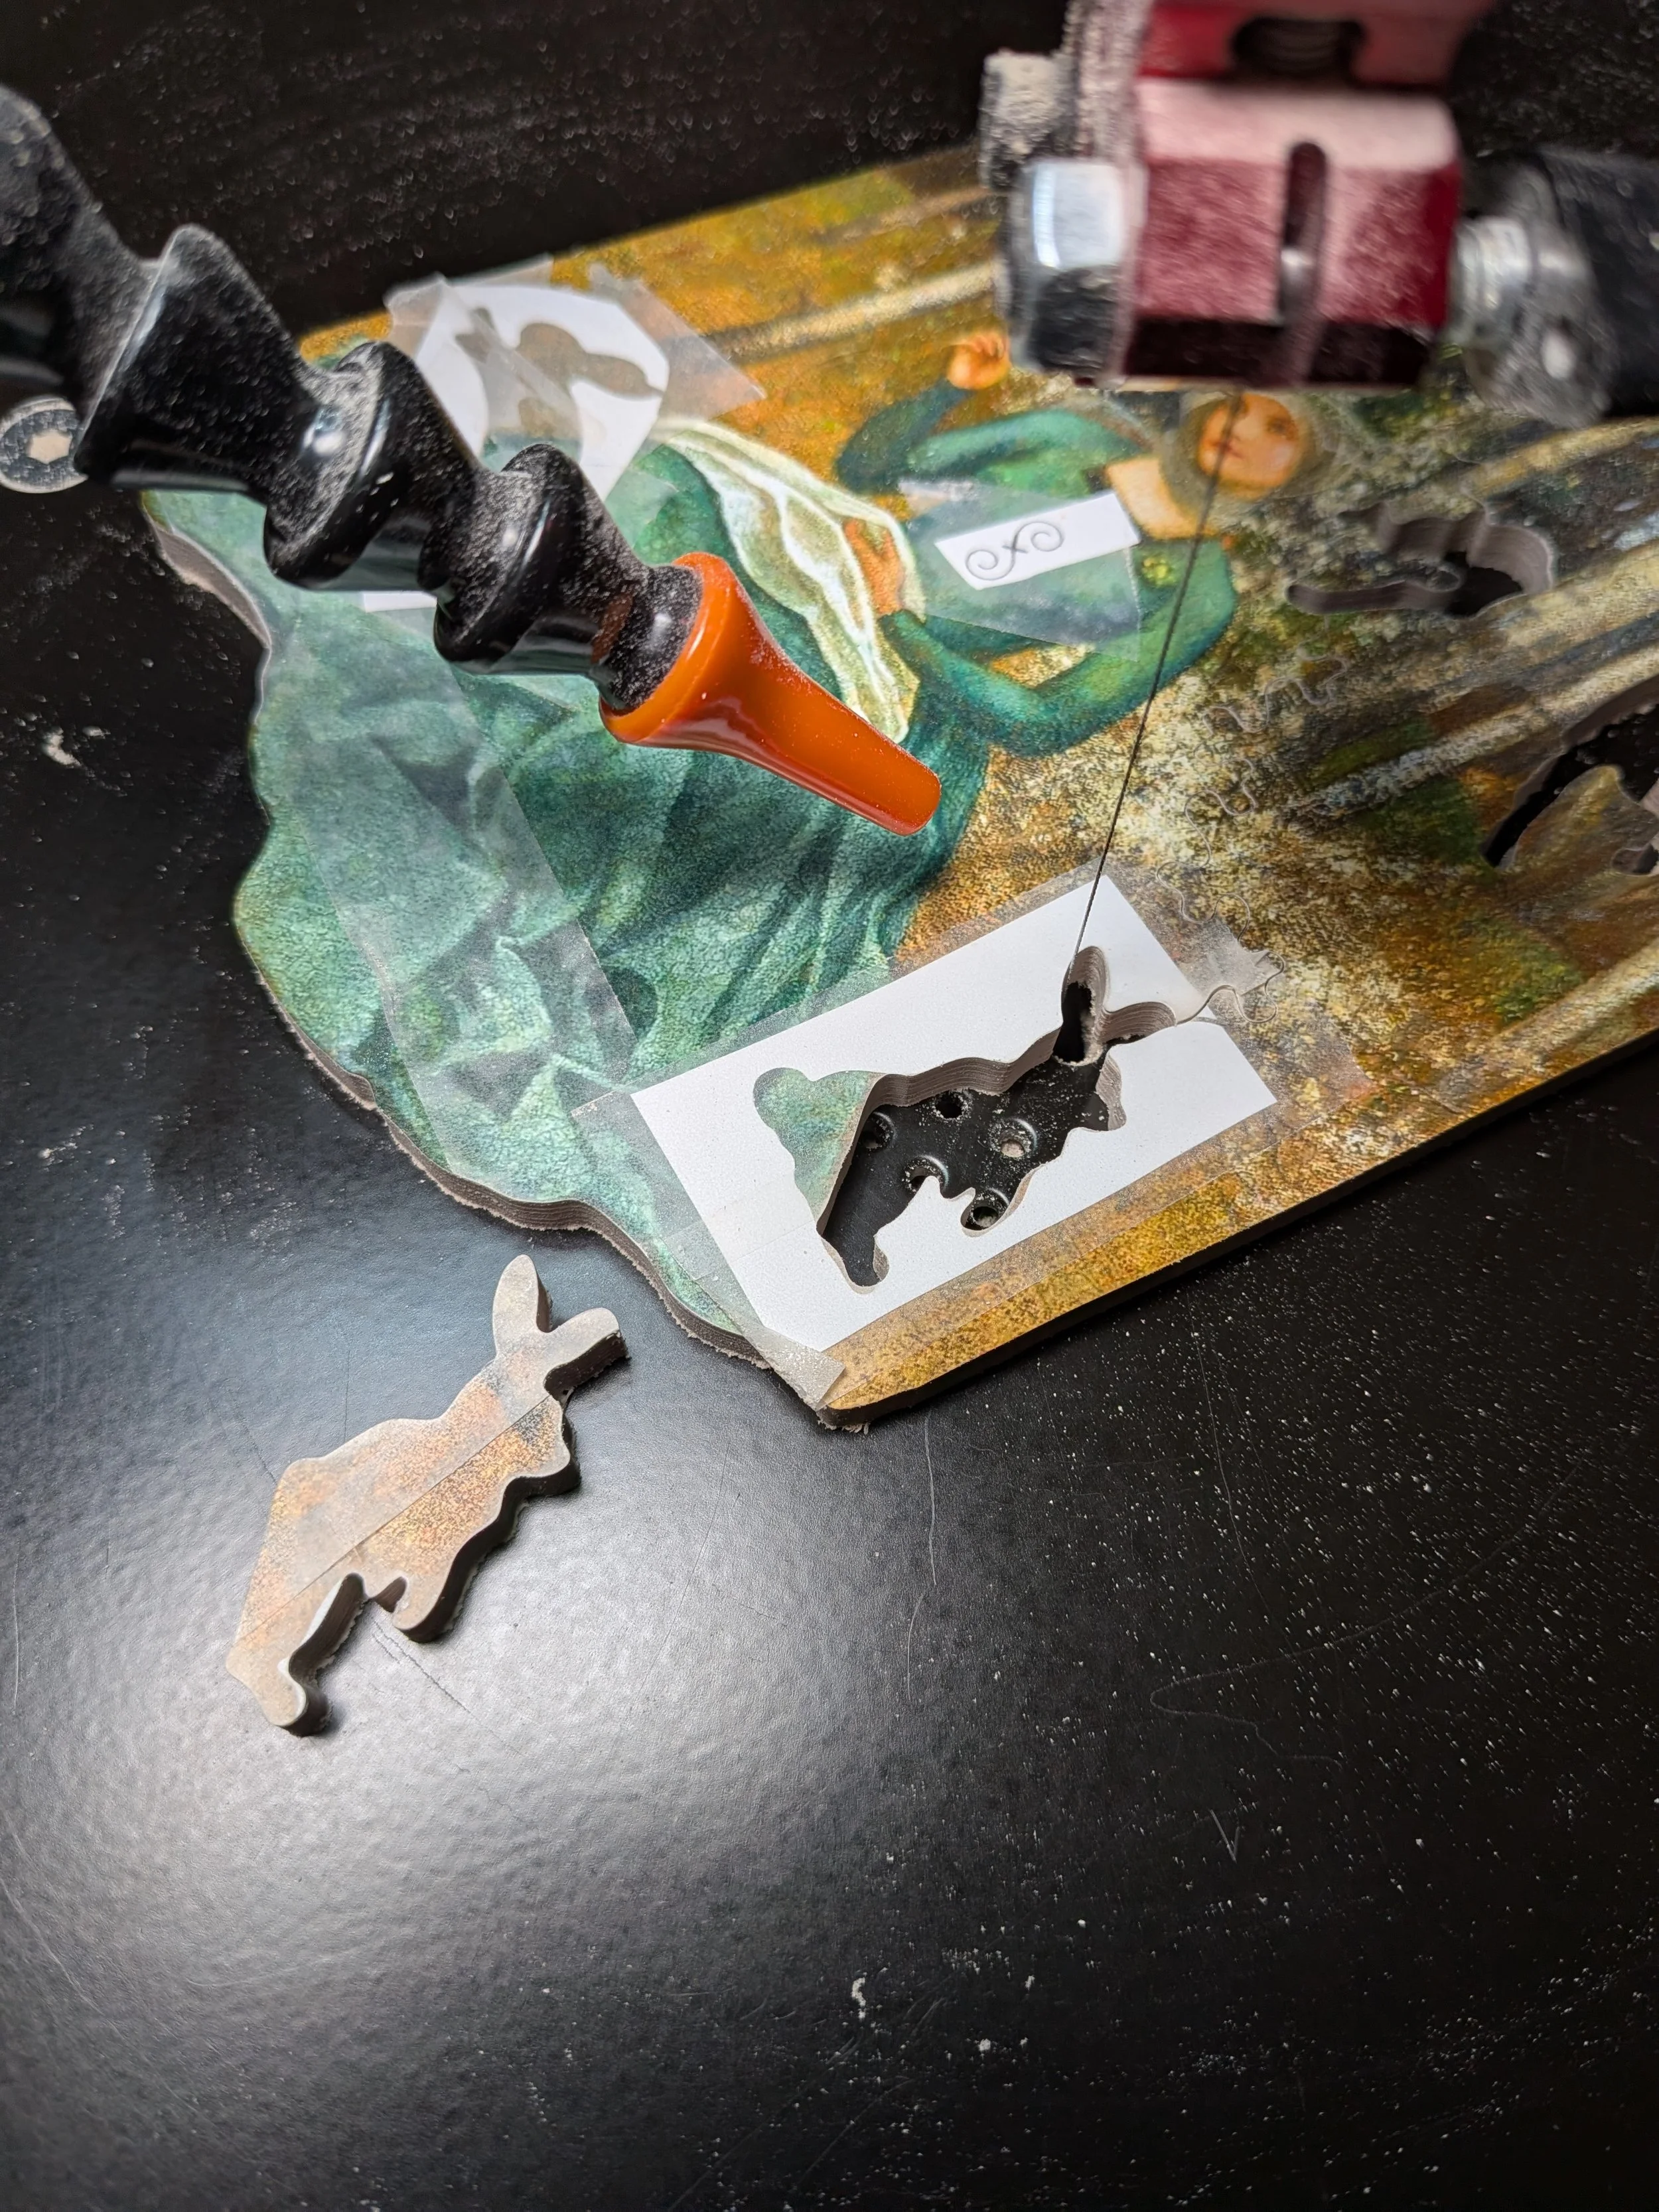
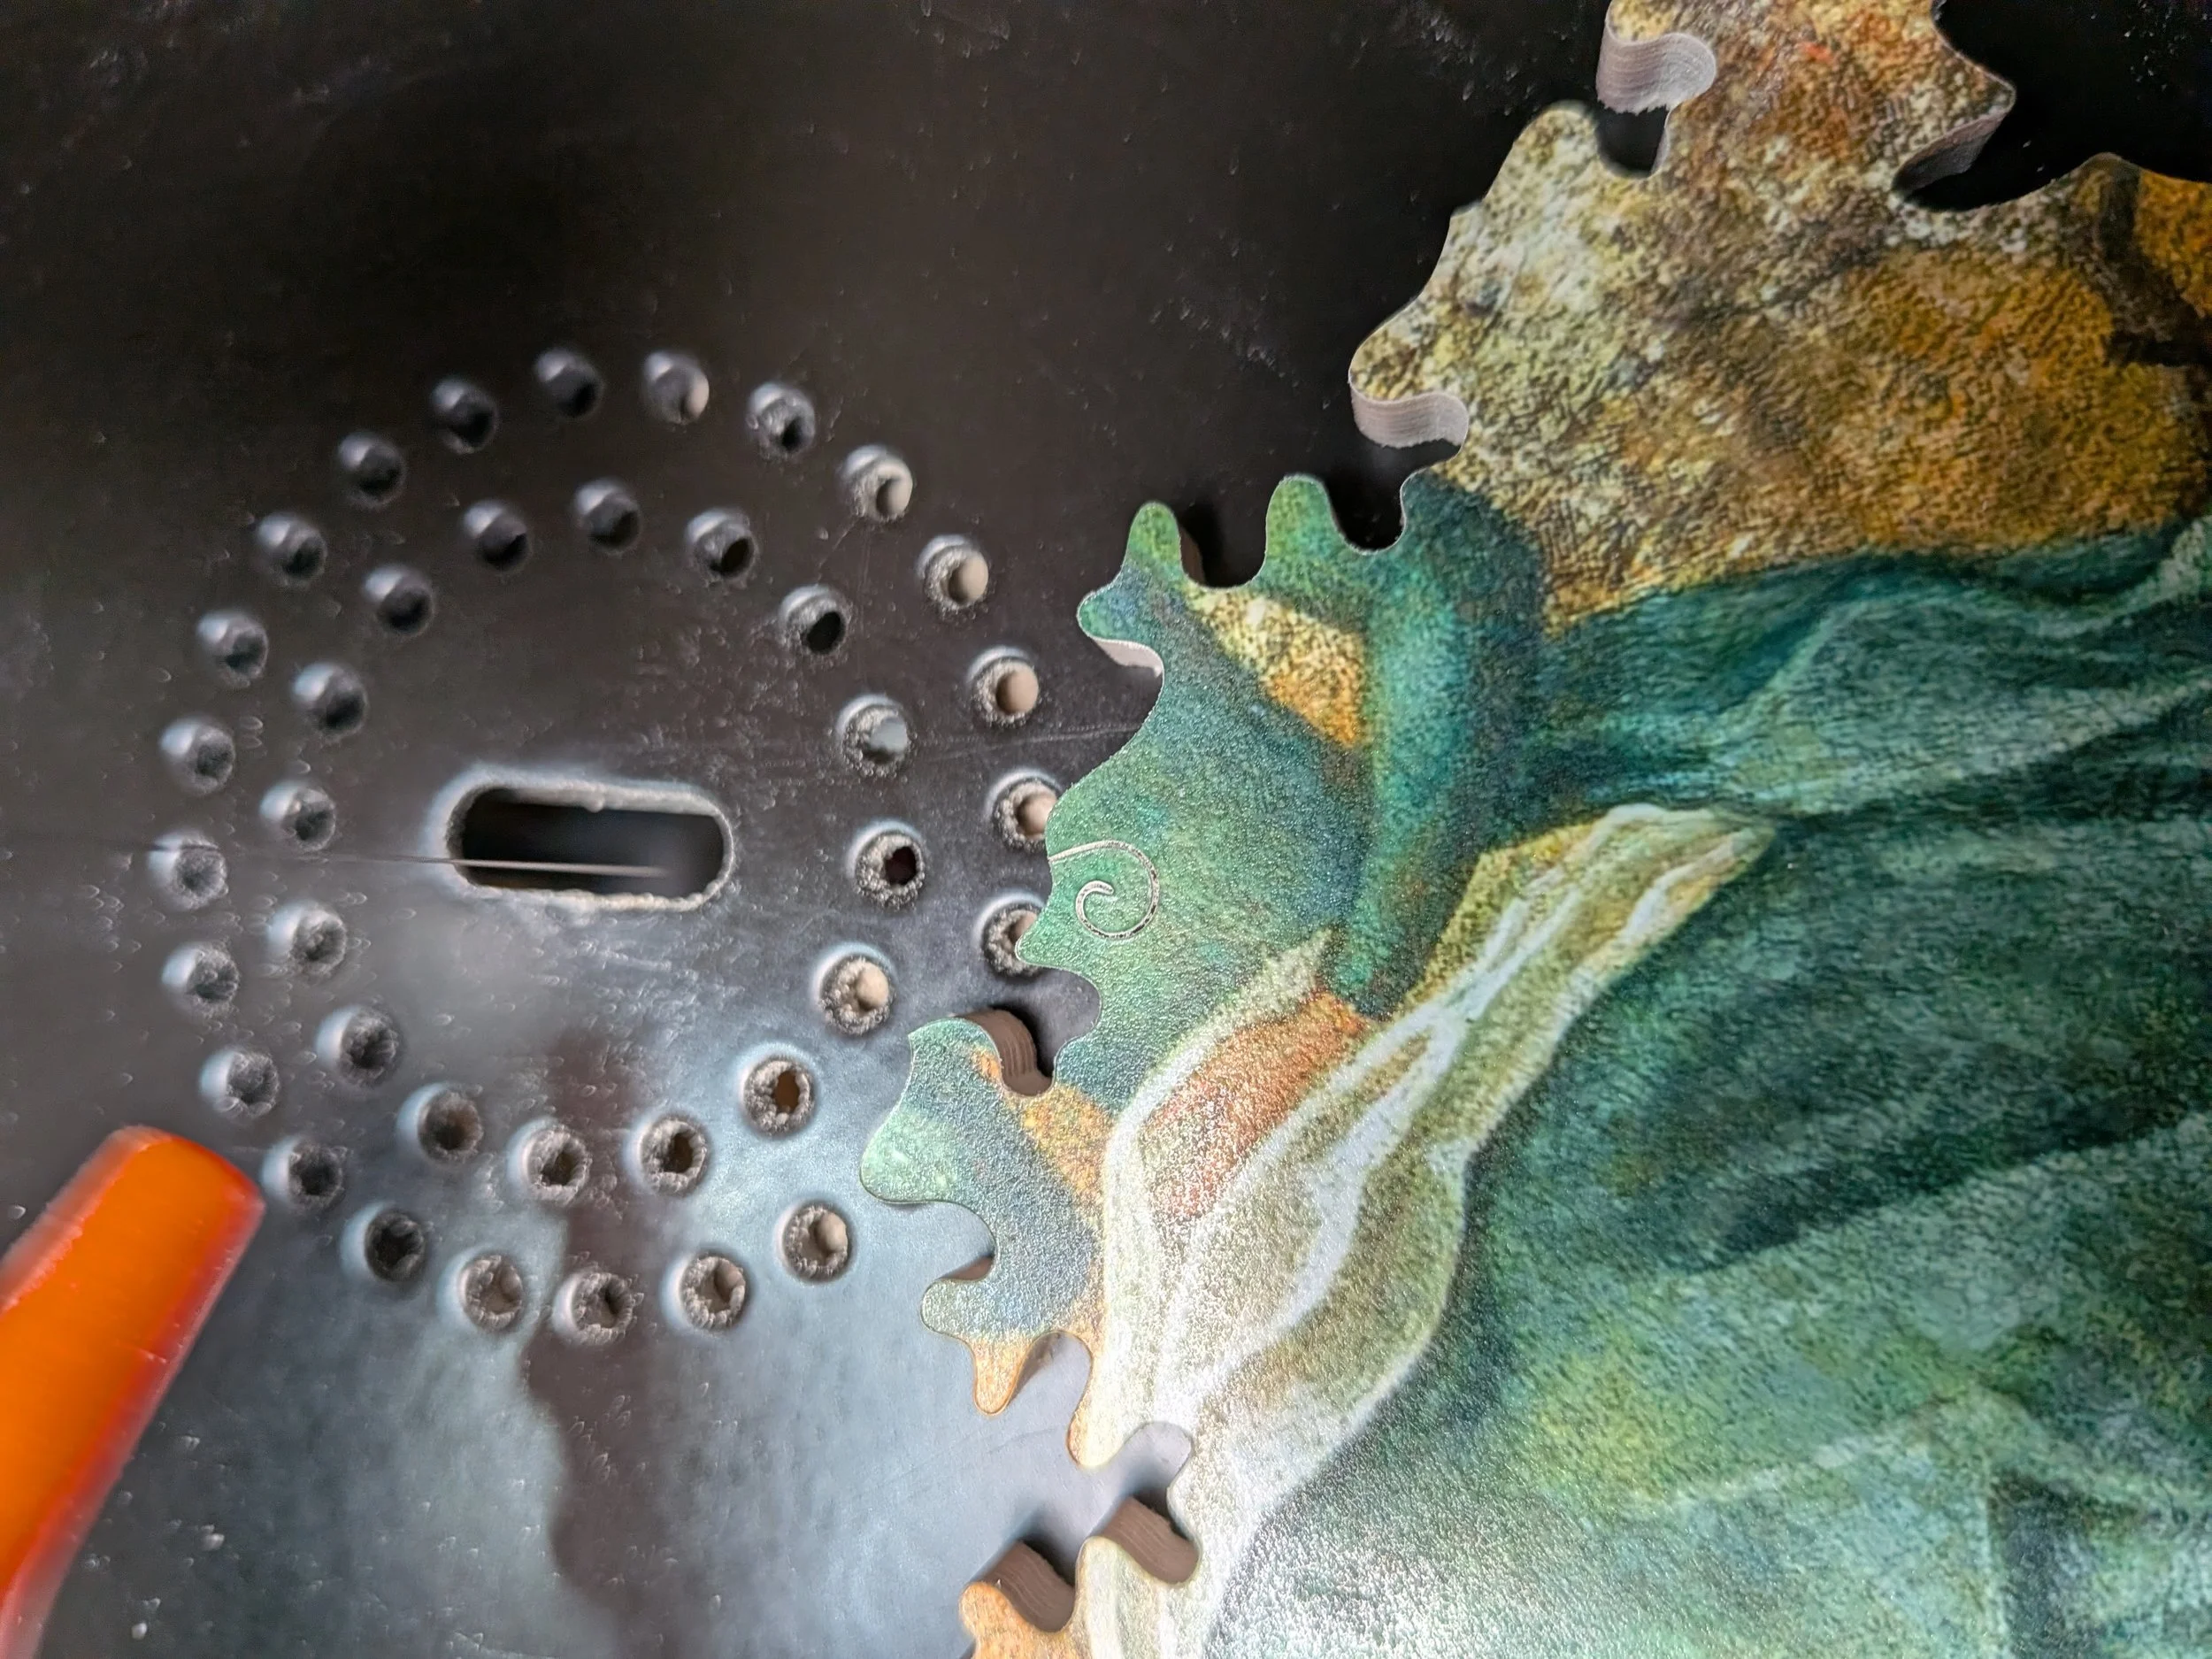
Print once, cut and stack paper to 1/4", wrap tight in packing tape. After cutting the silhouette, cut a good size box around the negative portion. This allows you to see the puzzle image while cutting the silhouette. This is essential for color-line cutting the portion of the silhouette that is 'hiding'. The positive silhouettes are set aside for future puzzles.

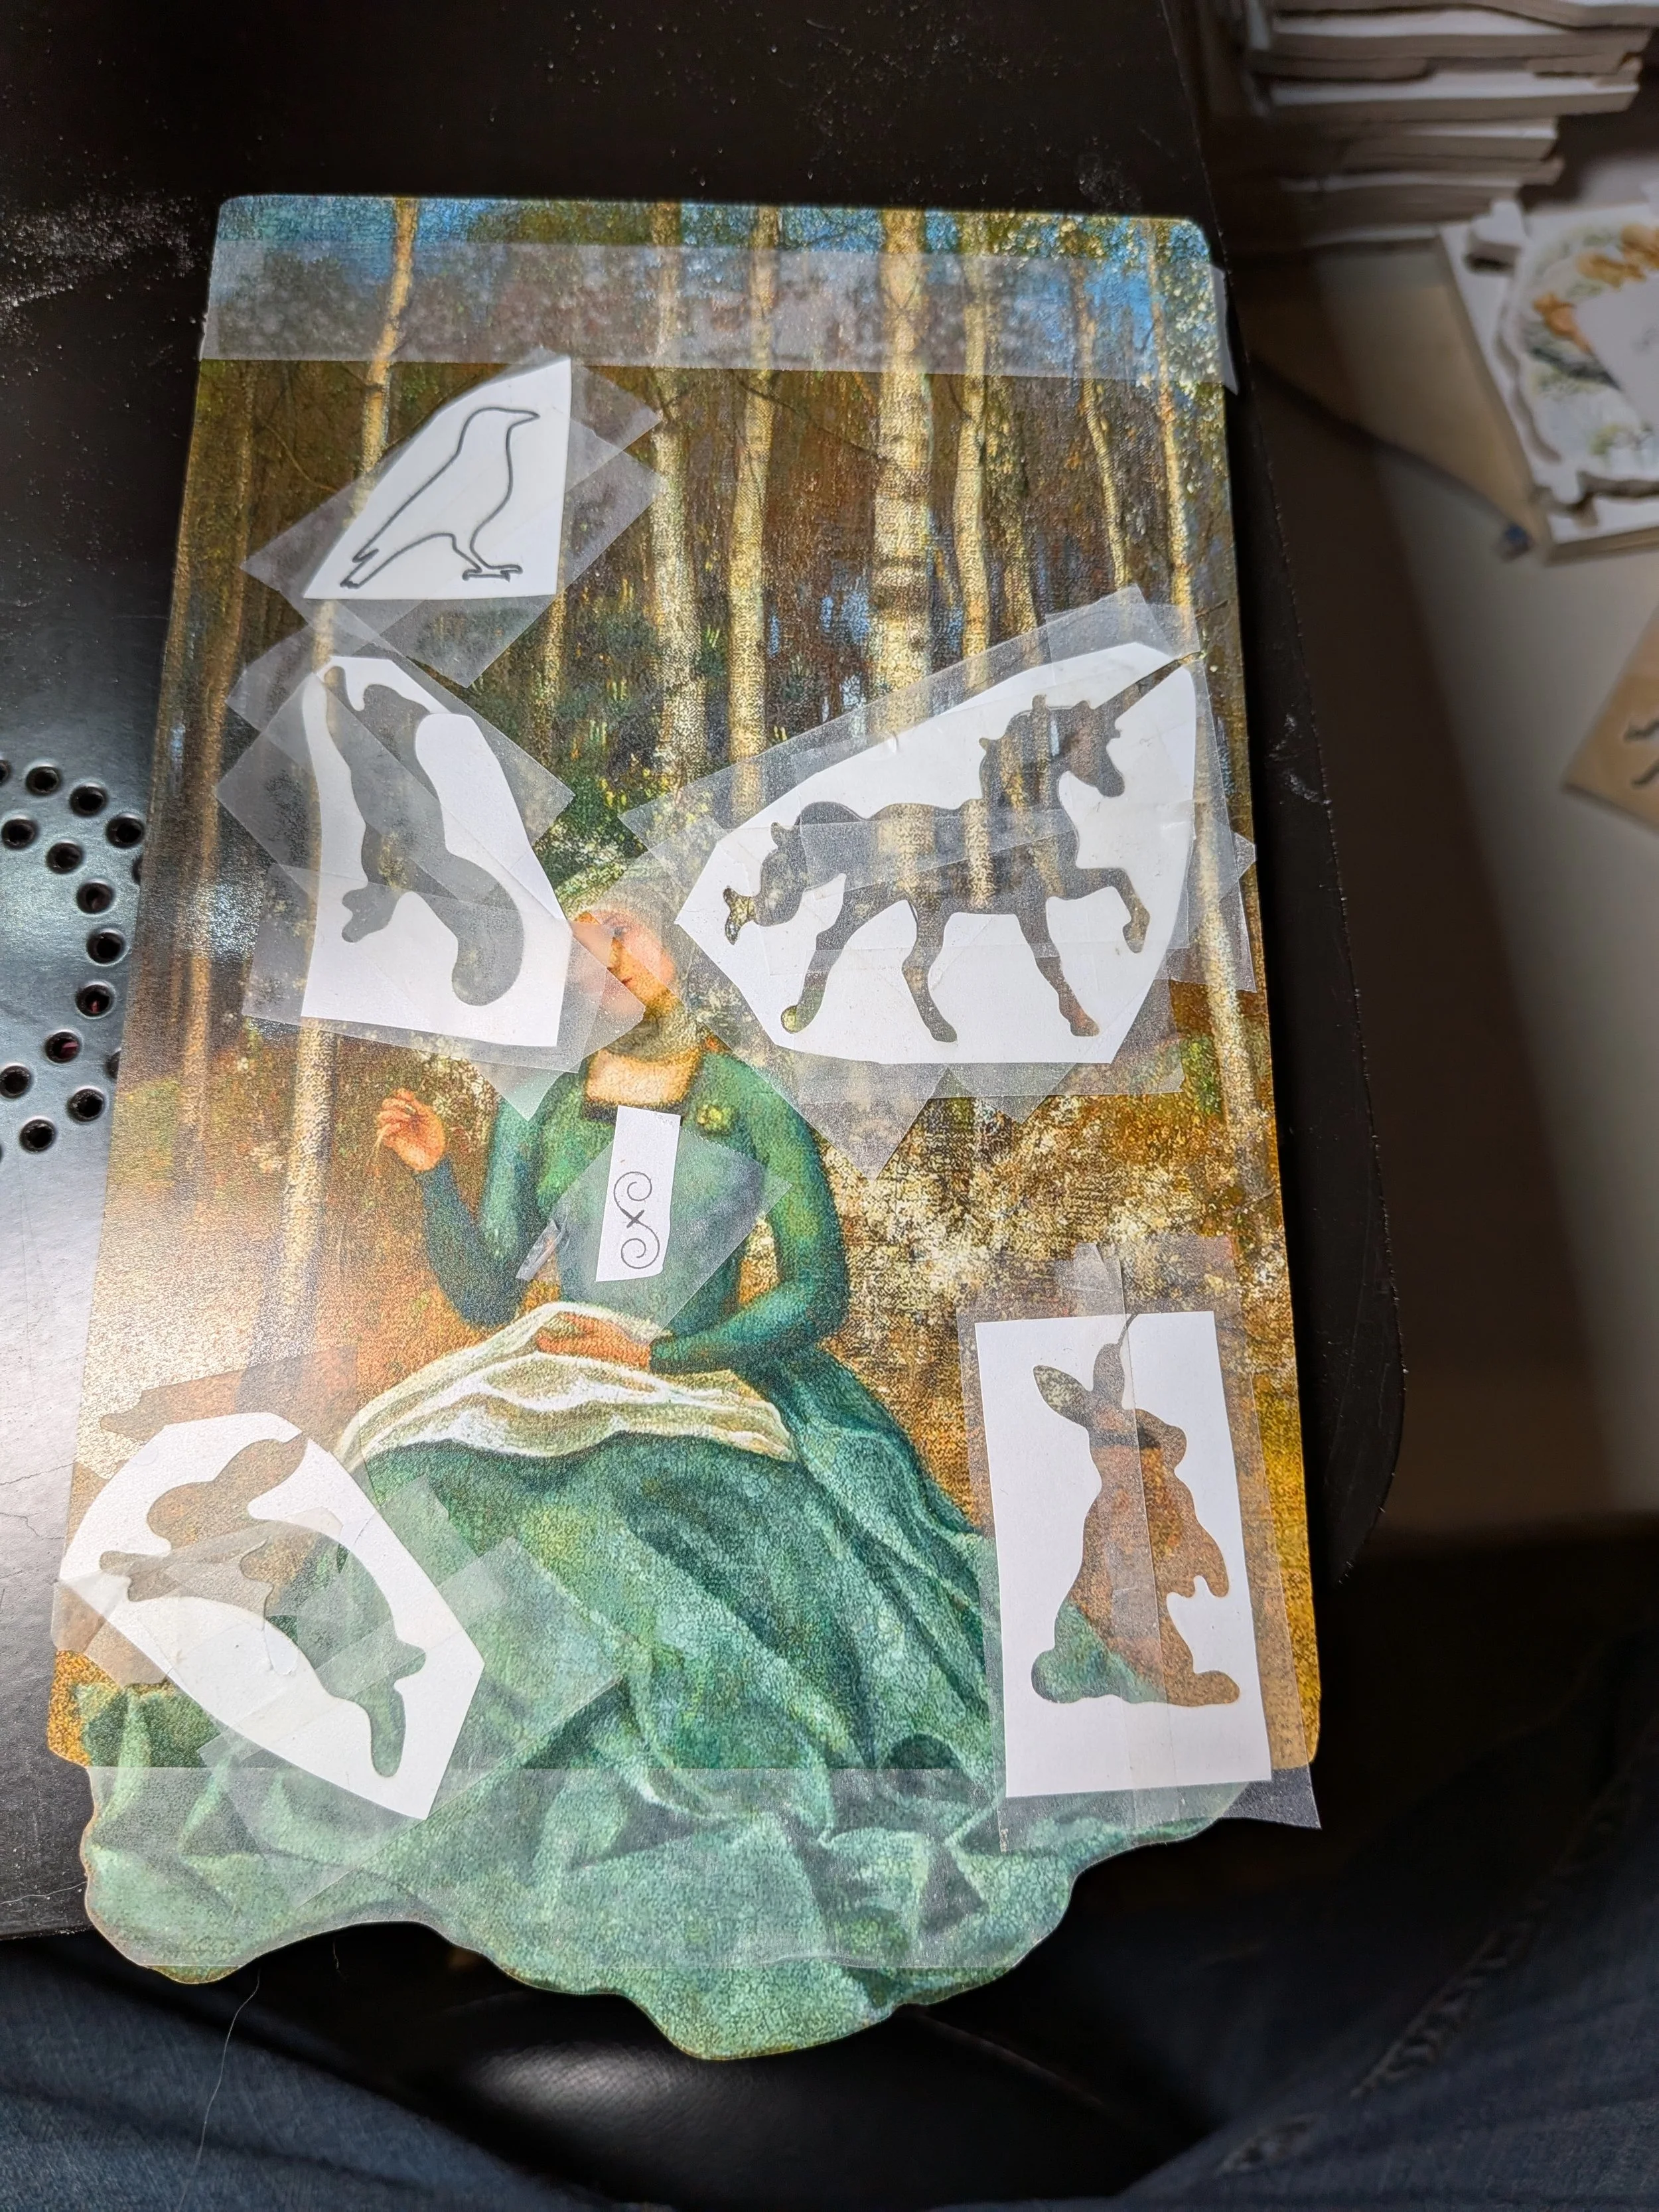
Background Dropout Silhouette
I am trying to hide a unicorn in a forest in three parts. The head, the tail, and the midsection. It is important to pay attention to connective topology. Attack where the dropouts do not interact with the image. Here I attack at the horn, this results in a very pointy horn dropout, which is fine. I mark the midsection with a pen to cut the rectangle dropout between the trees last. I also use a pen to draw the squirrel's paw gripping around the tree.
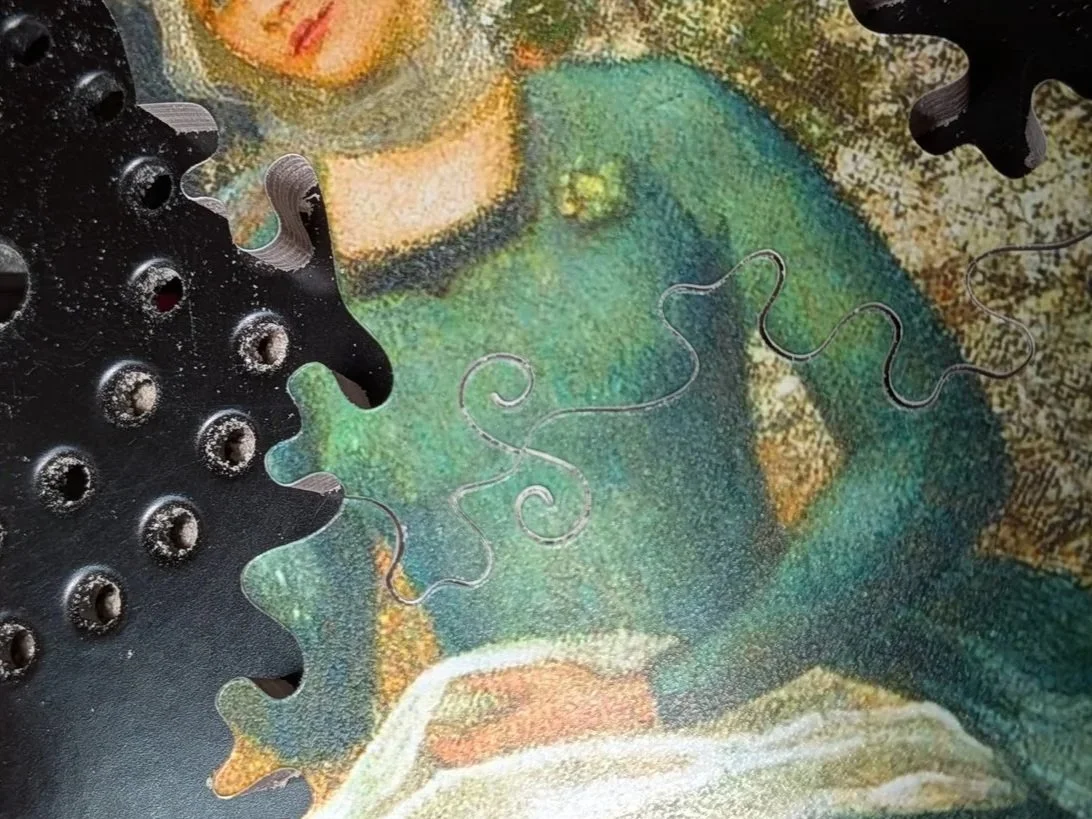
Scultpettes
Cut through the hash first, then cut two dead-end cuts. Pay special attention to the entrance point being as exact as possible to ensure they line up. When doing spirals the paper/tape will detach near the end of the dead-end cut, eyeball it. Back out the saw while it is still running. Ride the back of the blade very slightly while backing out. Ride it too hard and you'll leave a scrape along the edge. These could be any shape, but I like spirals. These look similar to sliver dropouts, but are smaller and interact with topology differently. Do not cut into one of these or originate a cut from within one. Unlike sliver dropouts, you don't have to put interlocks when approaching or leaving the hash. It actually makes it easier if you leave some room for perpendicular cuts afterwards.

I originally developed this technique for hiding a moon and sun behind peacocks.
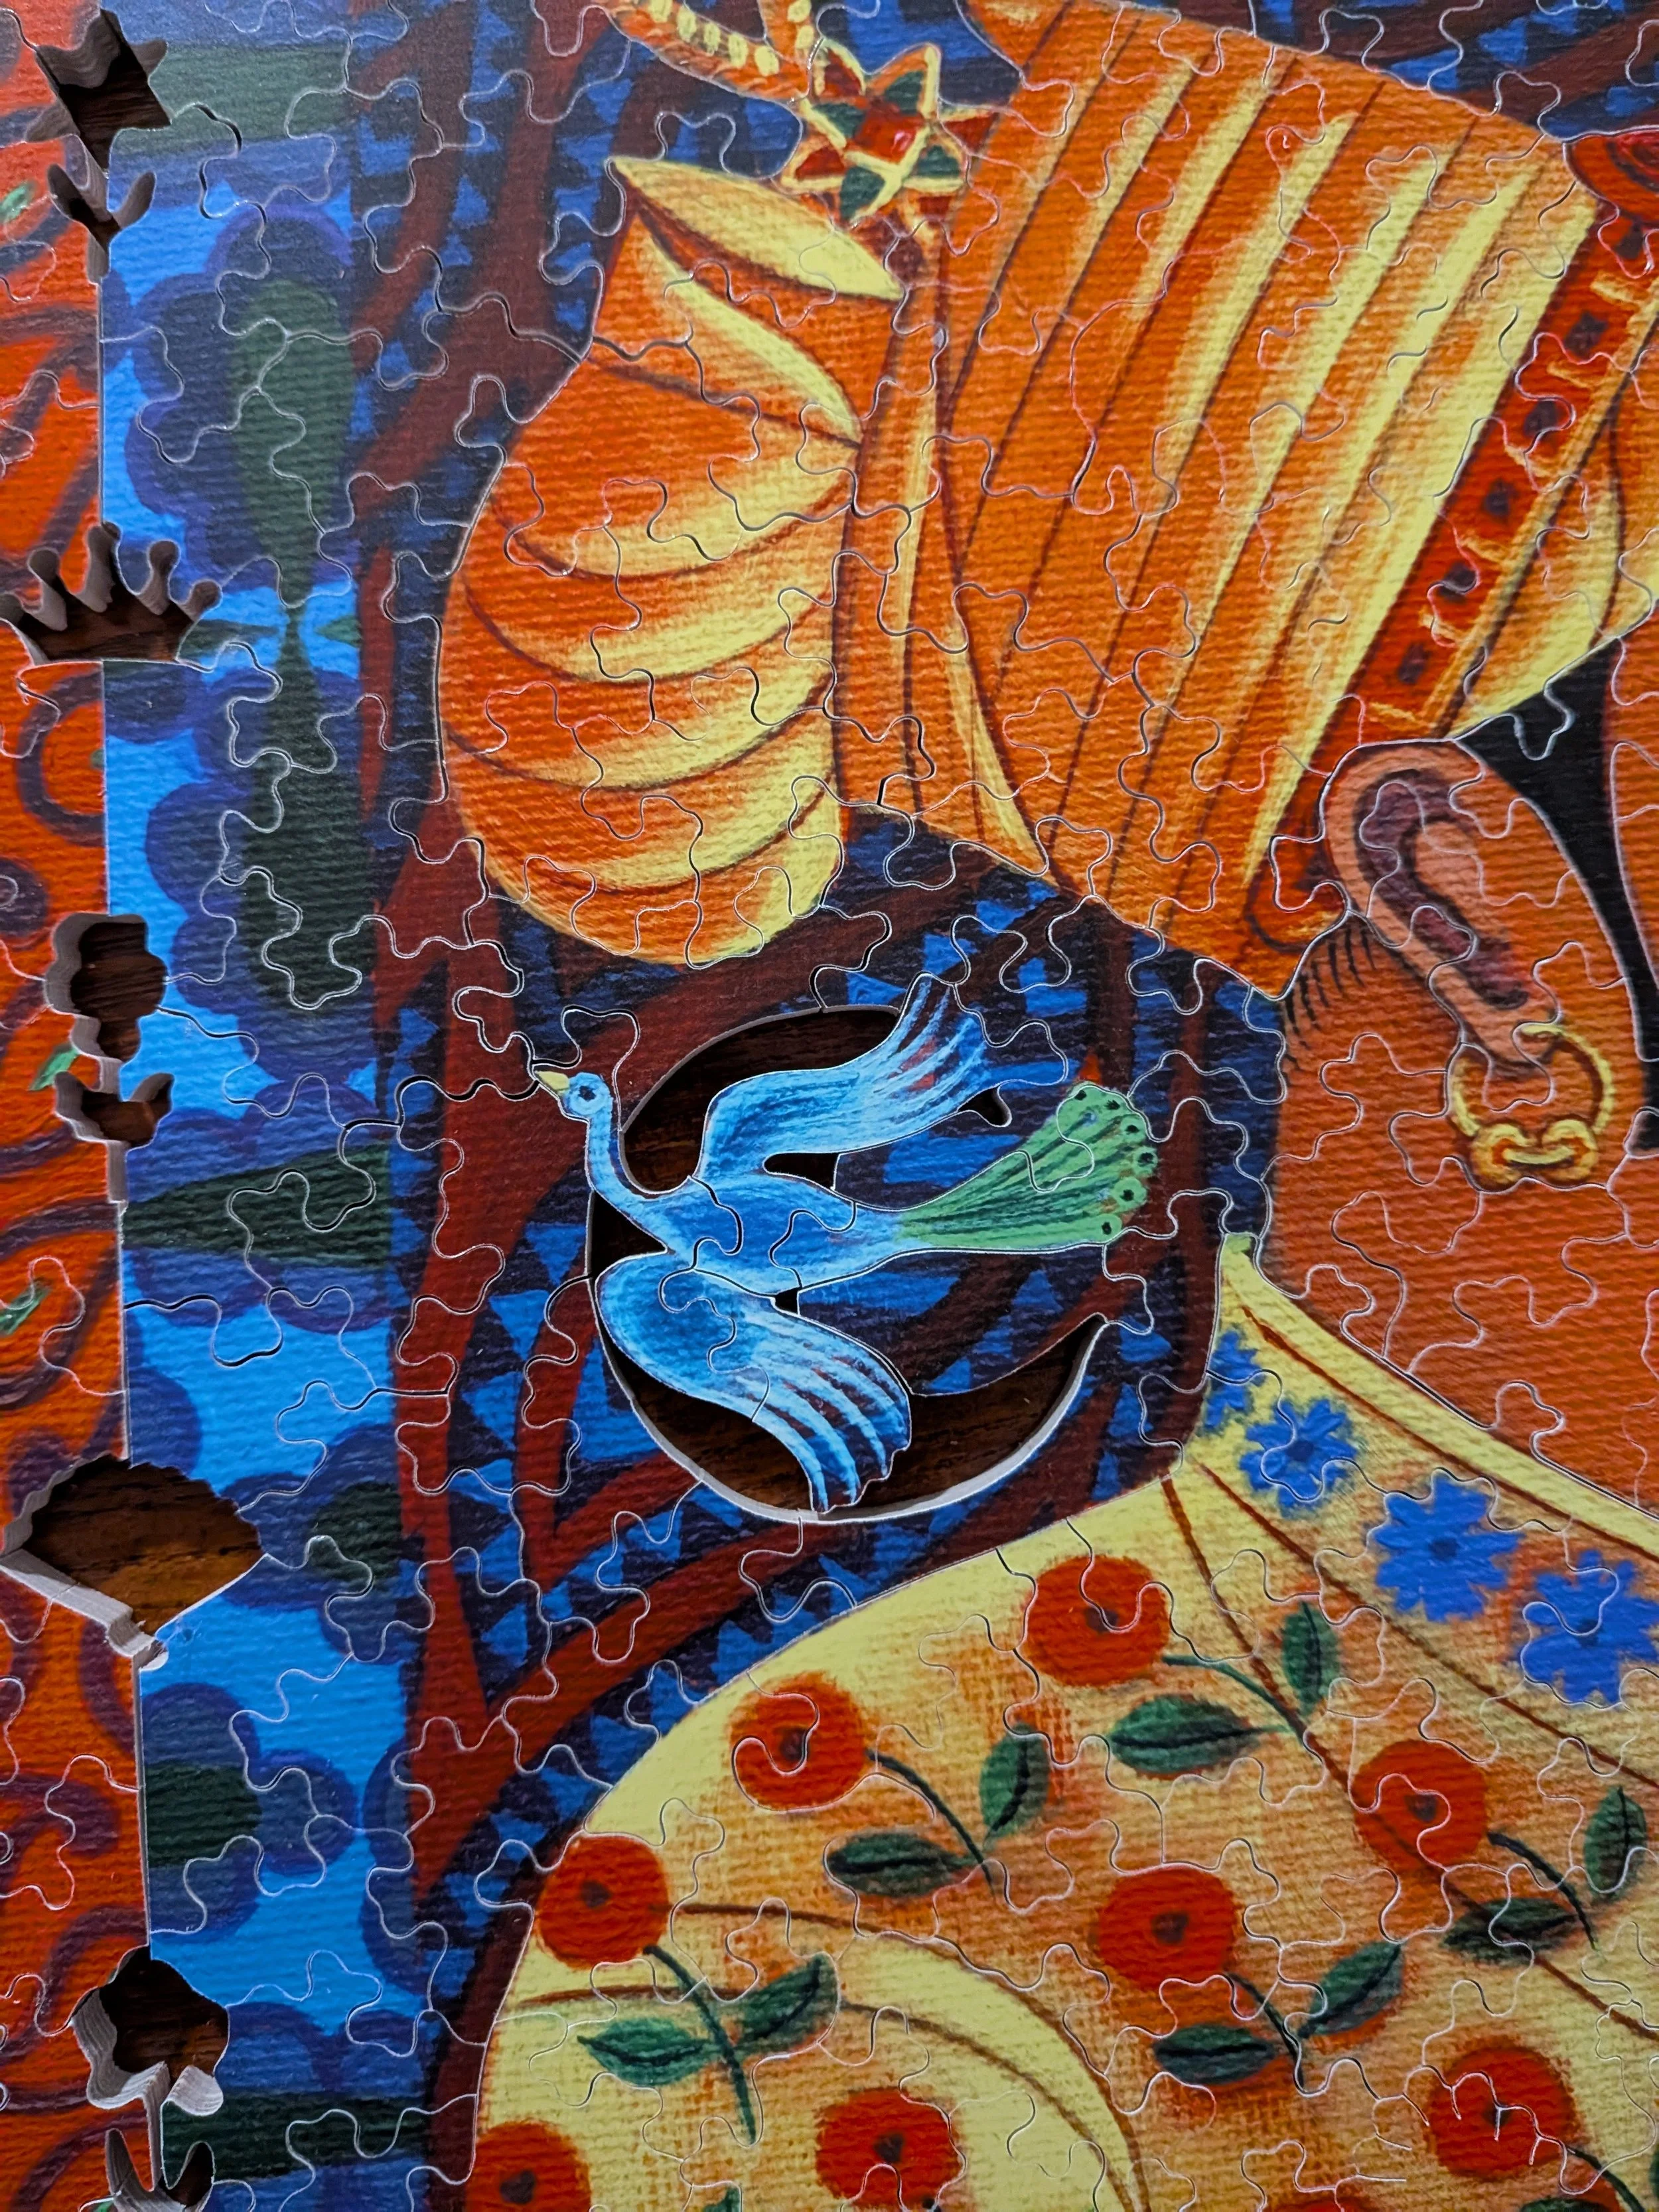


When making your own shapes for sculptettes, note they do not have to be two of the same shape, nor do they need to abut. Nor do they need to be small. I feel there is tremendous room for creativity here and I am just scratching at it.
Construction
- 1/4" 12 Ply Finnish Birch from Aircraft Spruce
- Matte photo paper from Walgreens photo (I don't deal with printers)
- Flying Dutchman Superior Puzzle Blades
- Super 77 Low VOC
- Rustoleum 2x Clear Satin
- Danish Oil for the back (optional)
- Pegas 21" and Dewalt 20" saws
Sand back of photos and wood panel with 150 grit, brush clean. Stack photos in spraybox upside down outside of spray range. Get ready to move quickly. Spray wood with vertical and horizantal layer of glue. Spray the upside down stack of photos, remove the top photo and place on wood. Repeat until out of space or photos.
Clear the images of any debris and hand-compress with a microfiber cloth. Compress under a fresh panel of wood using wax paper to protect the images, stack weights evenly and let dry.
Spray seal using manufacturer instructions.
I make these in the garage of our townhouse, and in our tasting room when traffic is slow. I put wheels on my Dewalt so I can cut on the patio.

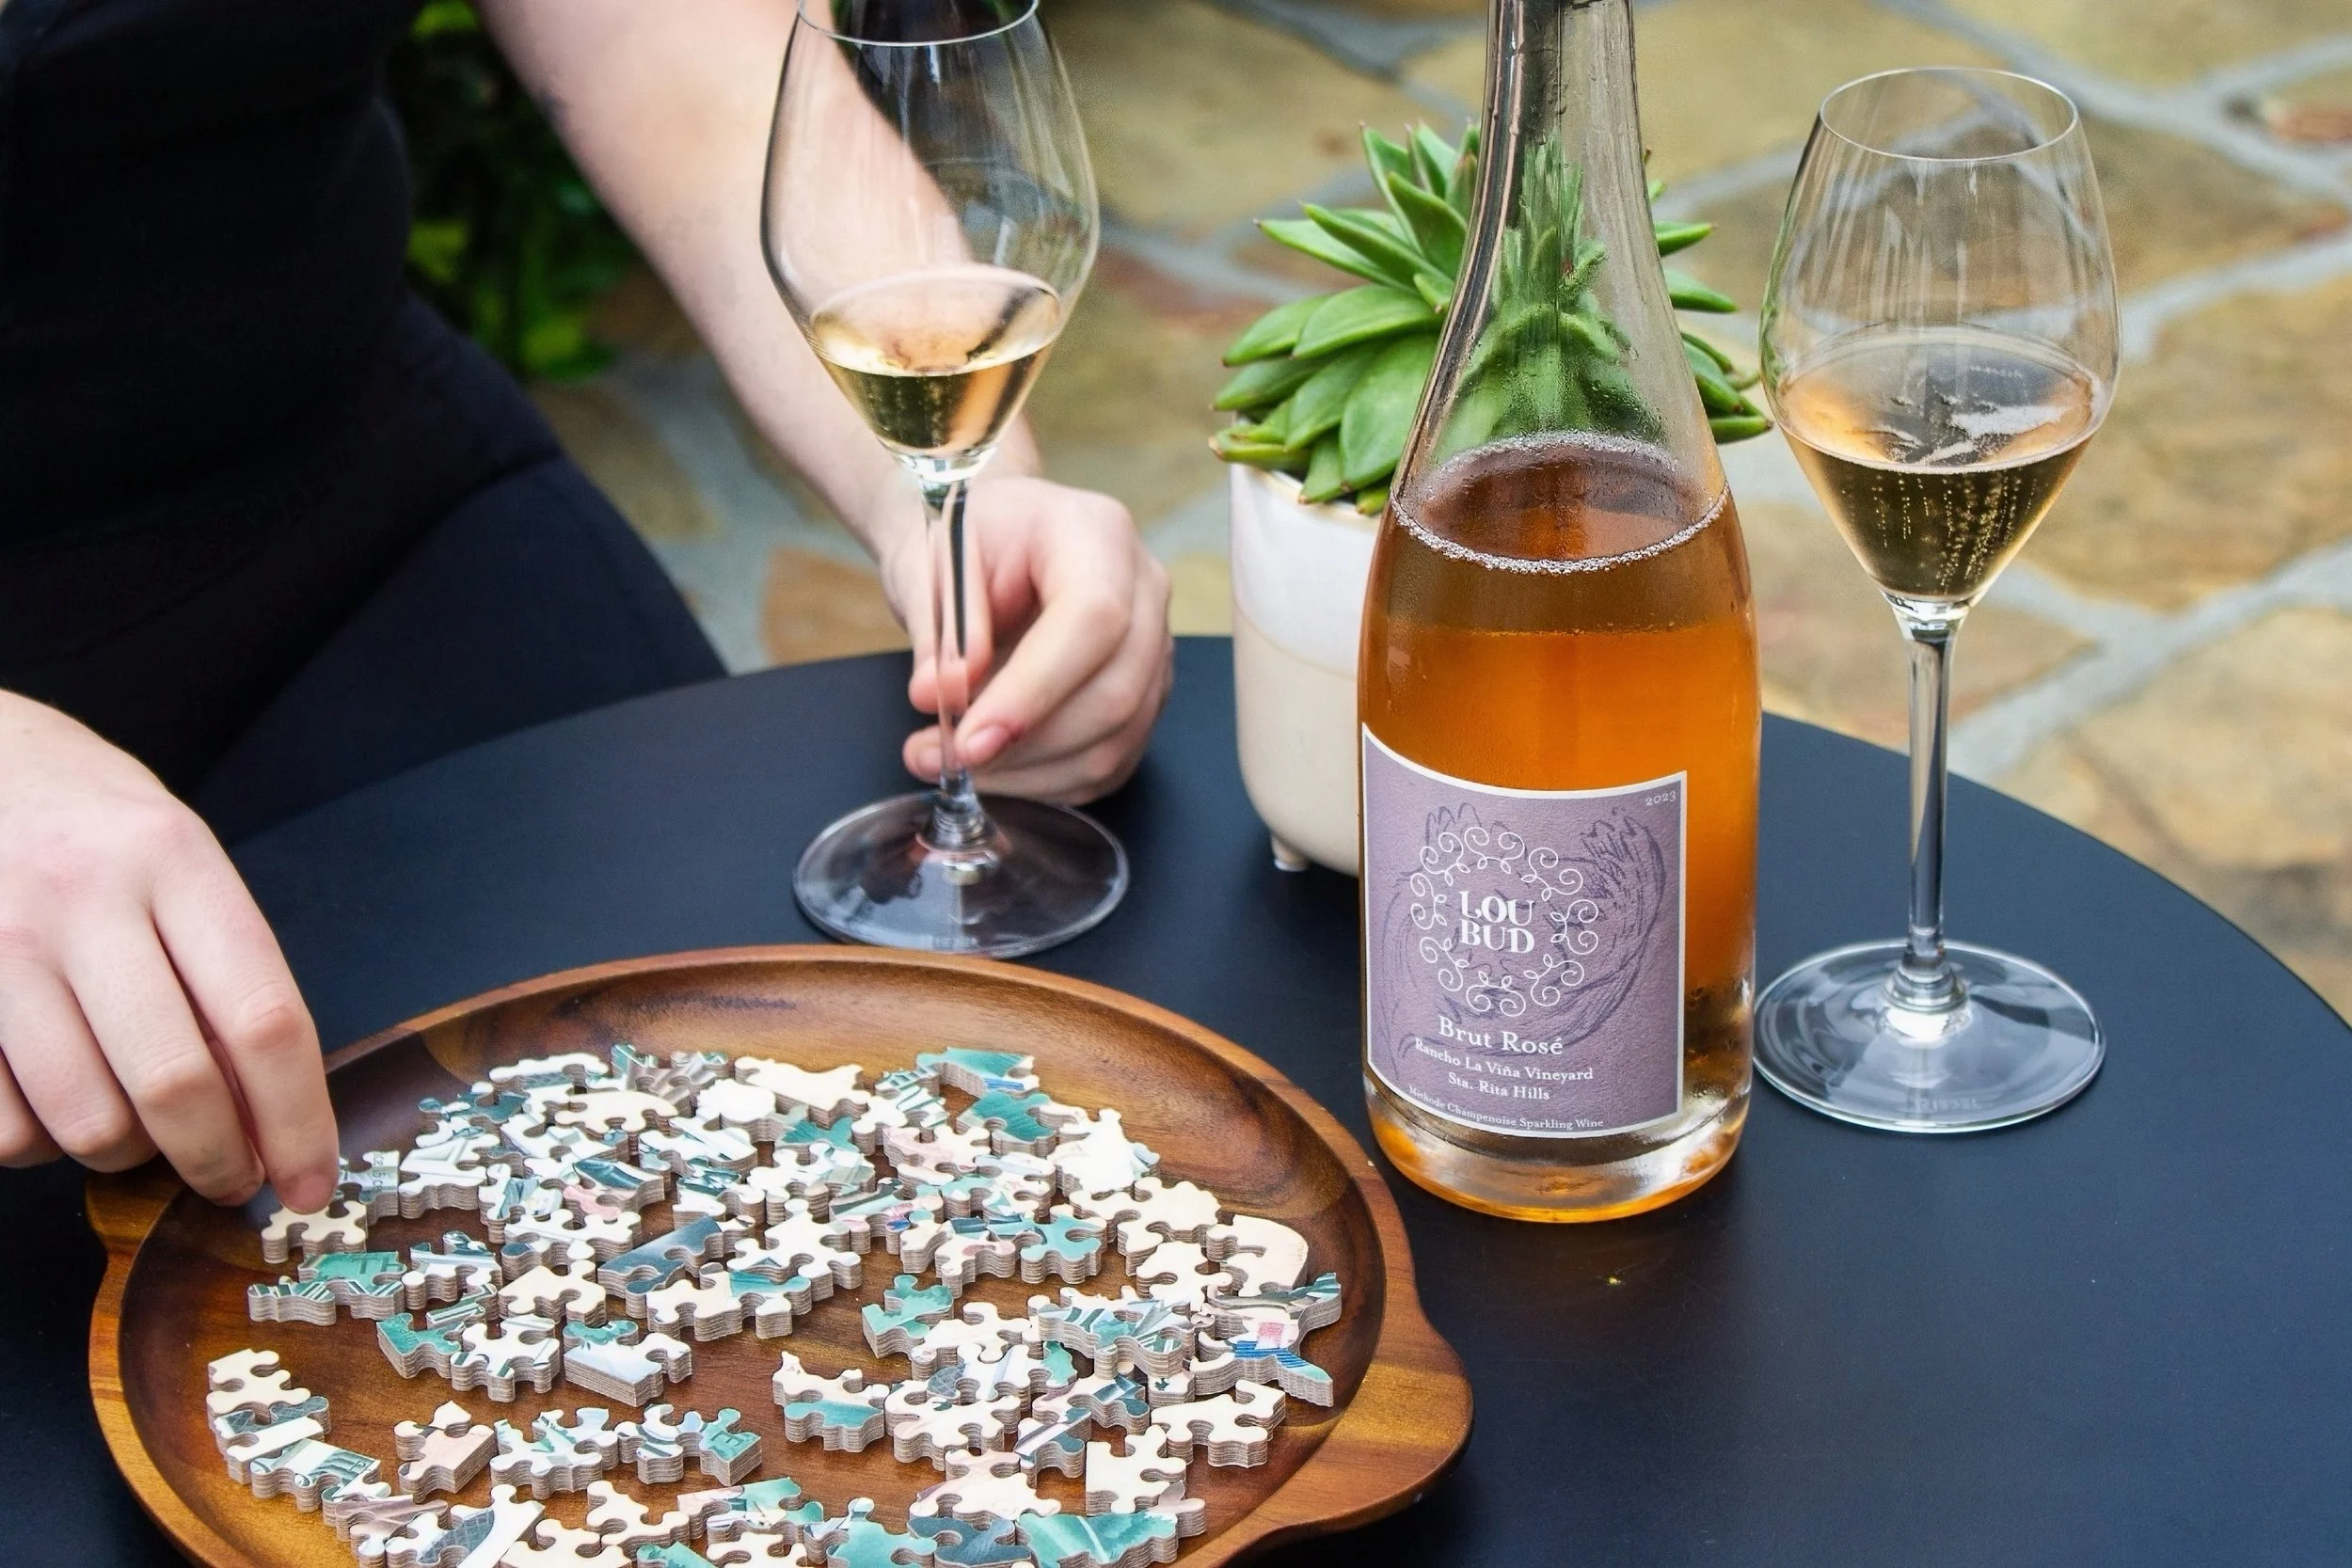
Enjoy with a bottle of our bubbles!